Eggs are great, aren’t they? They’re delicious, full of protein, and easy to prepare. Plus, they make for really fun decorations, especially on Easter! But what if you don’t want to use real eggs? Not a problem! Wooden eggs are an easy, long-lasting alternative. In today’s guide, we’re going to break down everything you need to know about wooden eggs for crafts and help you find the best wooden eggs for your next DIY project!
What are wooden eggs used for?
A better question would be: what AREN’T wooden eggs used for? These little guys may look like your average Easter decoration, but they are so much more than that. Unfinished wooden eggs are like the Swiss Army knife of the craft world — they have so many different uses, you'll wonder how you ever lived without them!
For starters, wooden craft eggs are a popular material for painting and decorating. They make a great canvas for all sorts of designs, from cute and whimsical to intricate and detailed. And the best part? You can use them to decorate your home all year round — not just during Easter.
Wooden nest eggs
If you're not familiar with nest eggs (or nesting eggs), you’re in good company. Hens tend to lay eggs in dark and quiet areas. This can lead to a real Easter egg hunt each morning as you look for that day’s egg-laying location. These wooden nest eggs are the same size as real eggs that are placed in the area where you would like your hens to lay their eggs. When your hens see these eggs, their instincts will tell them to lay their new eggs next to these existing eggs.
Wooden Easter eggs
What’s the best part of wooden eggs? The thrill of the hunt! Wooden Easter eggs are the perfect way to celebrate the holiday with friends and family. They also make a great alternative to traditional plastic eggs for Easter egg hunts. You can hide them around your home or yard for a fun family activity. And whether you want to use wooden eggs to paint, dye, or decorate, they are the perfect blank canvas for all your Easter arts and crafts ideas!
Easter egg garlands
Easter egg garlands are a festive and colorful decoration used to celebrate the Easter season. They are made up of a string or ribbon with Easter eggs attached, creating a colorful and cheerful garland that can be hung up around your home or yard. Be sure to check out our Easter egg garland collection to learn more!
Wooden egg crafts
Wooden eggs are a popular crafting material for both children and adults, and for good reason! They are durable, easy to work with, and can be used in a variety of creative ways. Here are just a few examples of the many wooden egg crafts you can make:
- Painted or dyed wooden eggs
- Easter egg characters
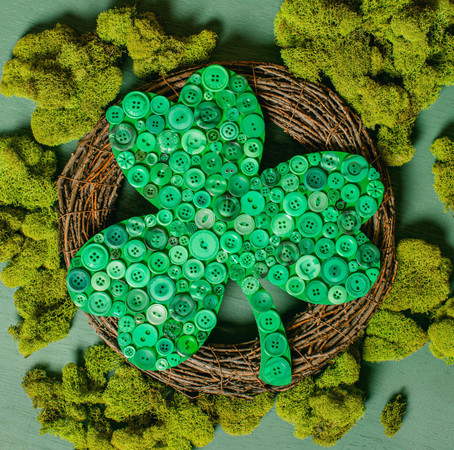
- Wreaths
- Egg-shaped wood toys
Wooden egg toy
A wooden egg toy is a classic and timeless plaything that children have enjoyed for generations. These toys are typically made from solid wood and designed to look like real eggs, but with added features that make them fun and interactive. One of the most common creations is the wooden egg and cup toy. This is commonly used as part of the Montessori teaching method to help babies and small children develop their motor skills.
Wooden egg toys can come in a variety of shapes and sizes, from small and simple to large and complex. Some may have a smooth and polished surface, while others may be more textured or have intricate designs carved into them.
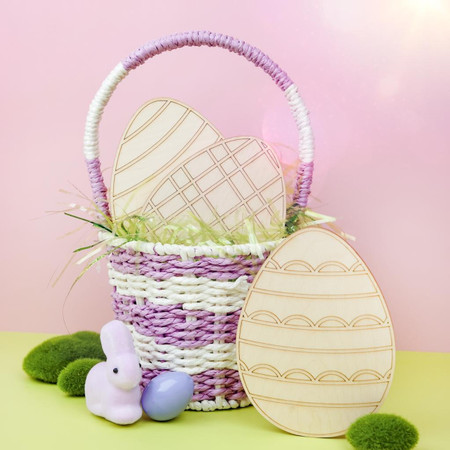
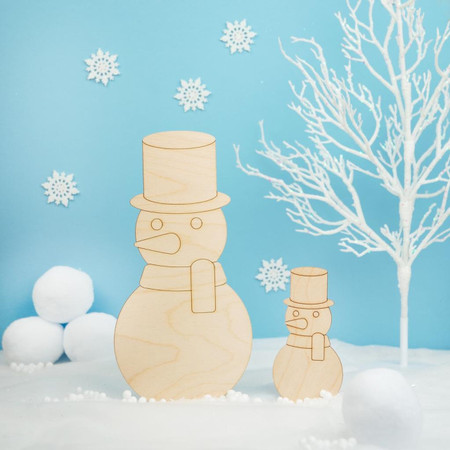
Wooden egg cutouts
Wooden egg cutouts make for egg-cellent crafting materials that are sure to crack you up! These flat and smooth wooden shapes are designed to look like eggs, but without all the mess. They can be used in a variety of fun and creative ways to add a touch of charm to your art projects.
One of the most popular ways to use wooden egg cutouts is as a canvas for painting. You can create all sorts of designs, from simple patterns and stripes to more intricate scenes or portraits. Or, you can turn them into adorable Easter egg wood cutout characters, like bunnies, chicks, and even unicorns! The possibilities are endless!
How to decorate wooden eggs
When it comes to decorating wooden Easter eggs, the possibilities are endless! That said, if you want to paint or dye your wooden eggs, there are a few things you should keep in mind:
How to paint wooden eggs
Painting wooden eggs is a fun and easy craft project that can be enjoyed by people of all ages and skill levels. Here are some simple steps to help you get started:
- Lay down a protective covering or newspaper to prevent any spills.
- Choose your colors and paints. Acrylic paints work best for wooden eggs, as they dry quickly and are easy to clean up.
- Begin by applying a base coat of paint to your eggs. You can use a paintbrush or a sponge to do this. It is best to apply two coats of paint, as it is difficult ot hold and paint the egg without smudging certain sections. Let the paint dry completely before moving on to the next step.
- Once your base coat is dry, you can add designs and details to your eggs.
- Feel free to experiment with different colors and techniques! You can use stencils, stamps, or even layered colors for a more textured look.
- Allow your painted eggs to dry completely before handling or displaying them.
How to dye wooden eggs
Dyeing wooden eggs is a fun and easy alternative to traditional Easter egg dyeing. Here’s how to do it on your own:
- Lay down a protective covering to protect your floors and furniture.
- In a small bowl or cup, mix together 1/2 cup of water, 1 tablespoon of white vinegar, and a few drops of food coloring, watercolor paint, or liquid fabric dye. You can use one color for each bowl, or mix colors together to create a unique shade.
- Place your wooden egg into the bowl of dye and use a plastic spoon to gently swirl it around. Make sure that the egg is completely covered in the dye.
- Let the egg soak in the dye for about 5-10 minutes, or until you achieve your desired color intensity. If you want a lighter color, you can remove the egg from the dye earlier.
- Use a paper towel to gently dab off any excess dye from the egg, and then place it on a clean paper towel to dry.
- Repeat these steps with additional colors and eggs, until you have dyed as many eggs as you like.
And that's it! Painting and dyeing wooden eggs are two fun and simple ways to add some colorful flair to your home decor. Whether you're making them for a fun Easter egg hunt or just for decoration, these wooden eggs are sure to add a touch of warmth and whimsy to any room or occasion.
Did you enjoy our wooden eggs guide? Be sure to check out our wood eggs to find the perfect gift for yourself or a loved one!