


Some craft projects don’t need a giant board from the lumber aisle. They need something thinner. Cleaner. Easier to cut. Less likely to make you ask, “Why did I think this would fit on my craft table?” That’s where thin wood for crafts saves the day.
Thin wood sheets for crafts are the secret heroes behind signs, ornaments, laser projects, dollhouse pieces, school projects, layered art, and about a hundred other ideas that look simple until you try making them from the wrong material. Use wood that’s too thick, and suddenly your cute little wall sign feels like a cutting board. Use wood that’s too flimsy, and your project bends, warps, or gives up before the glue dries. No one wants a sad craft.
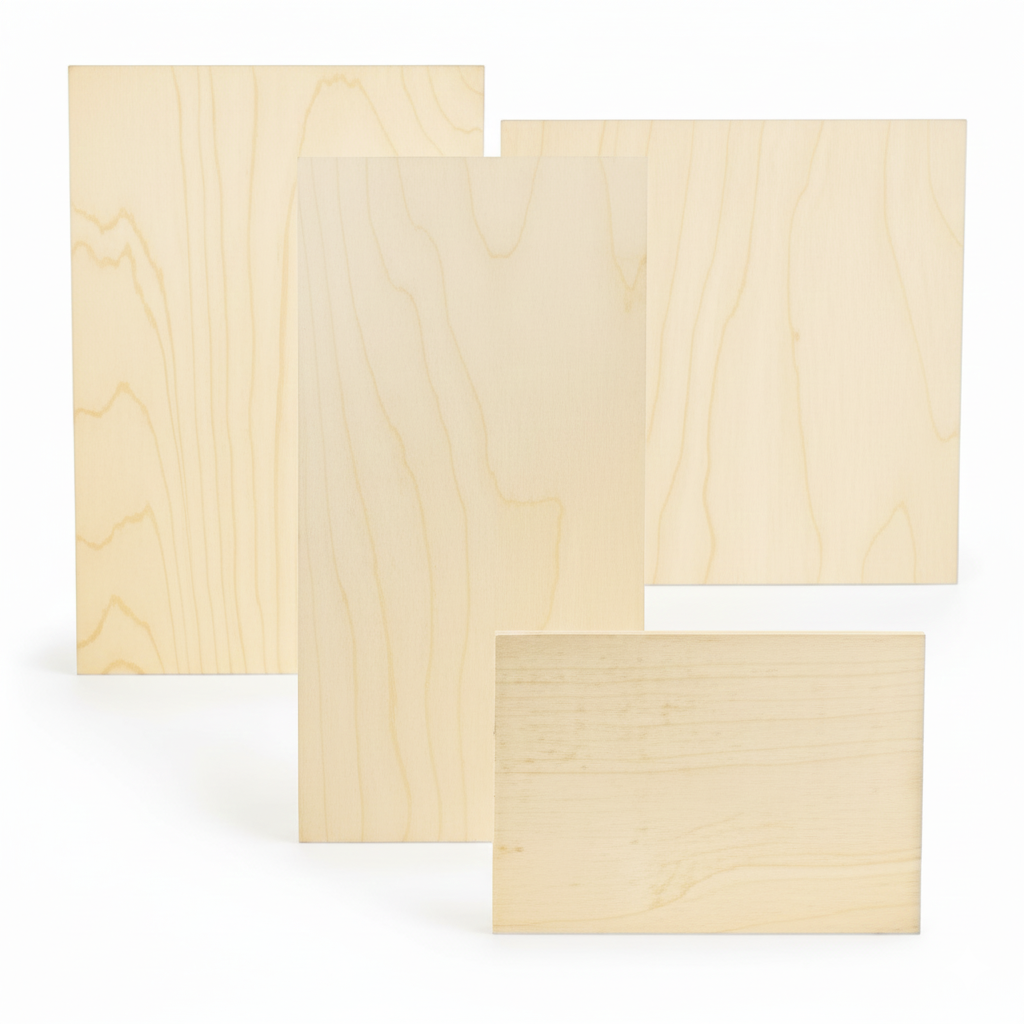
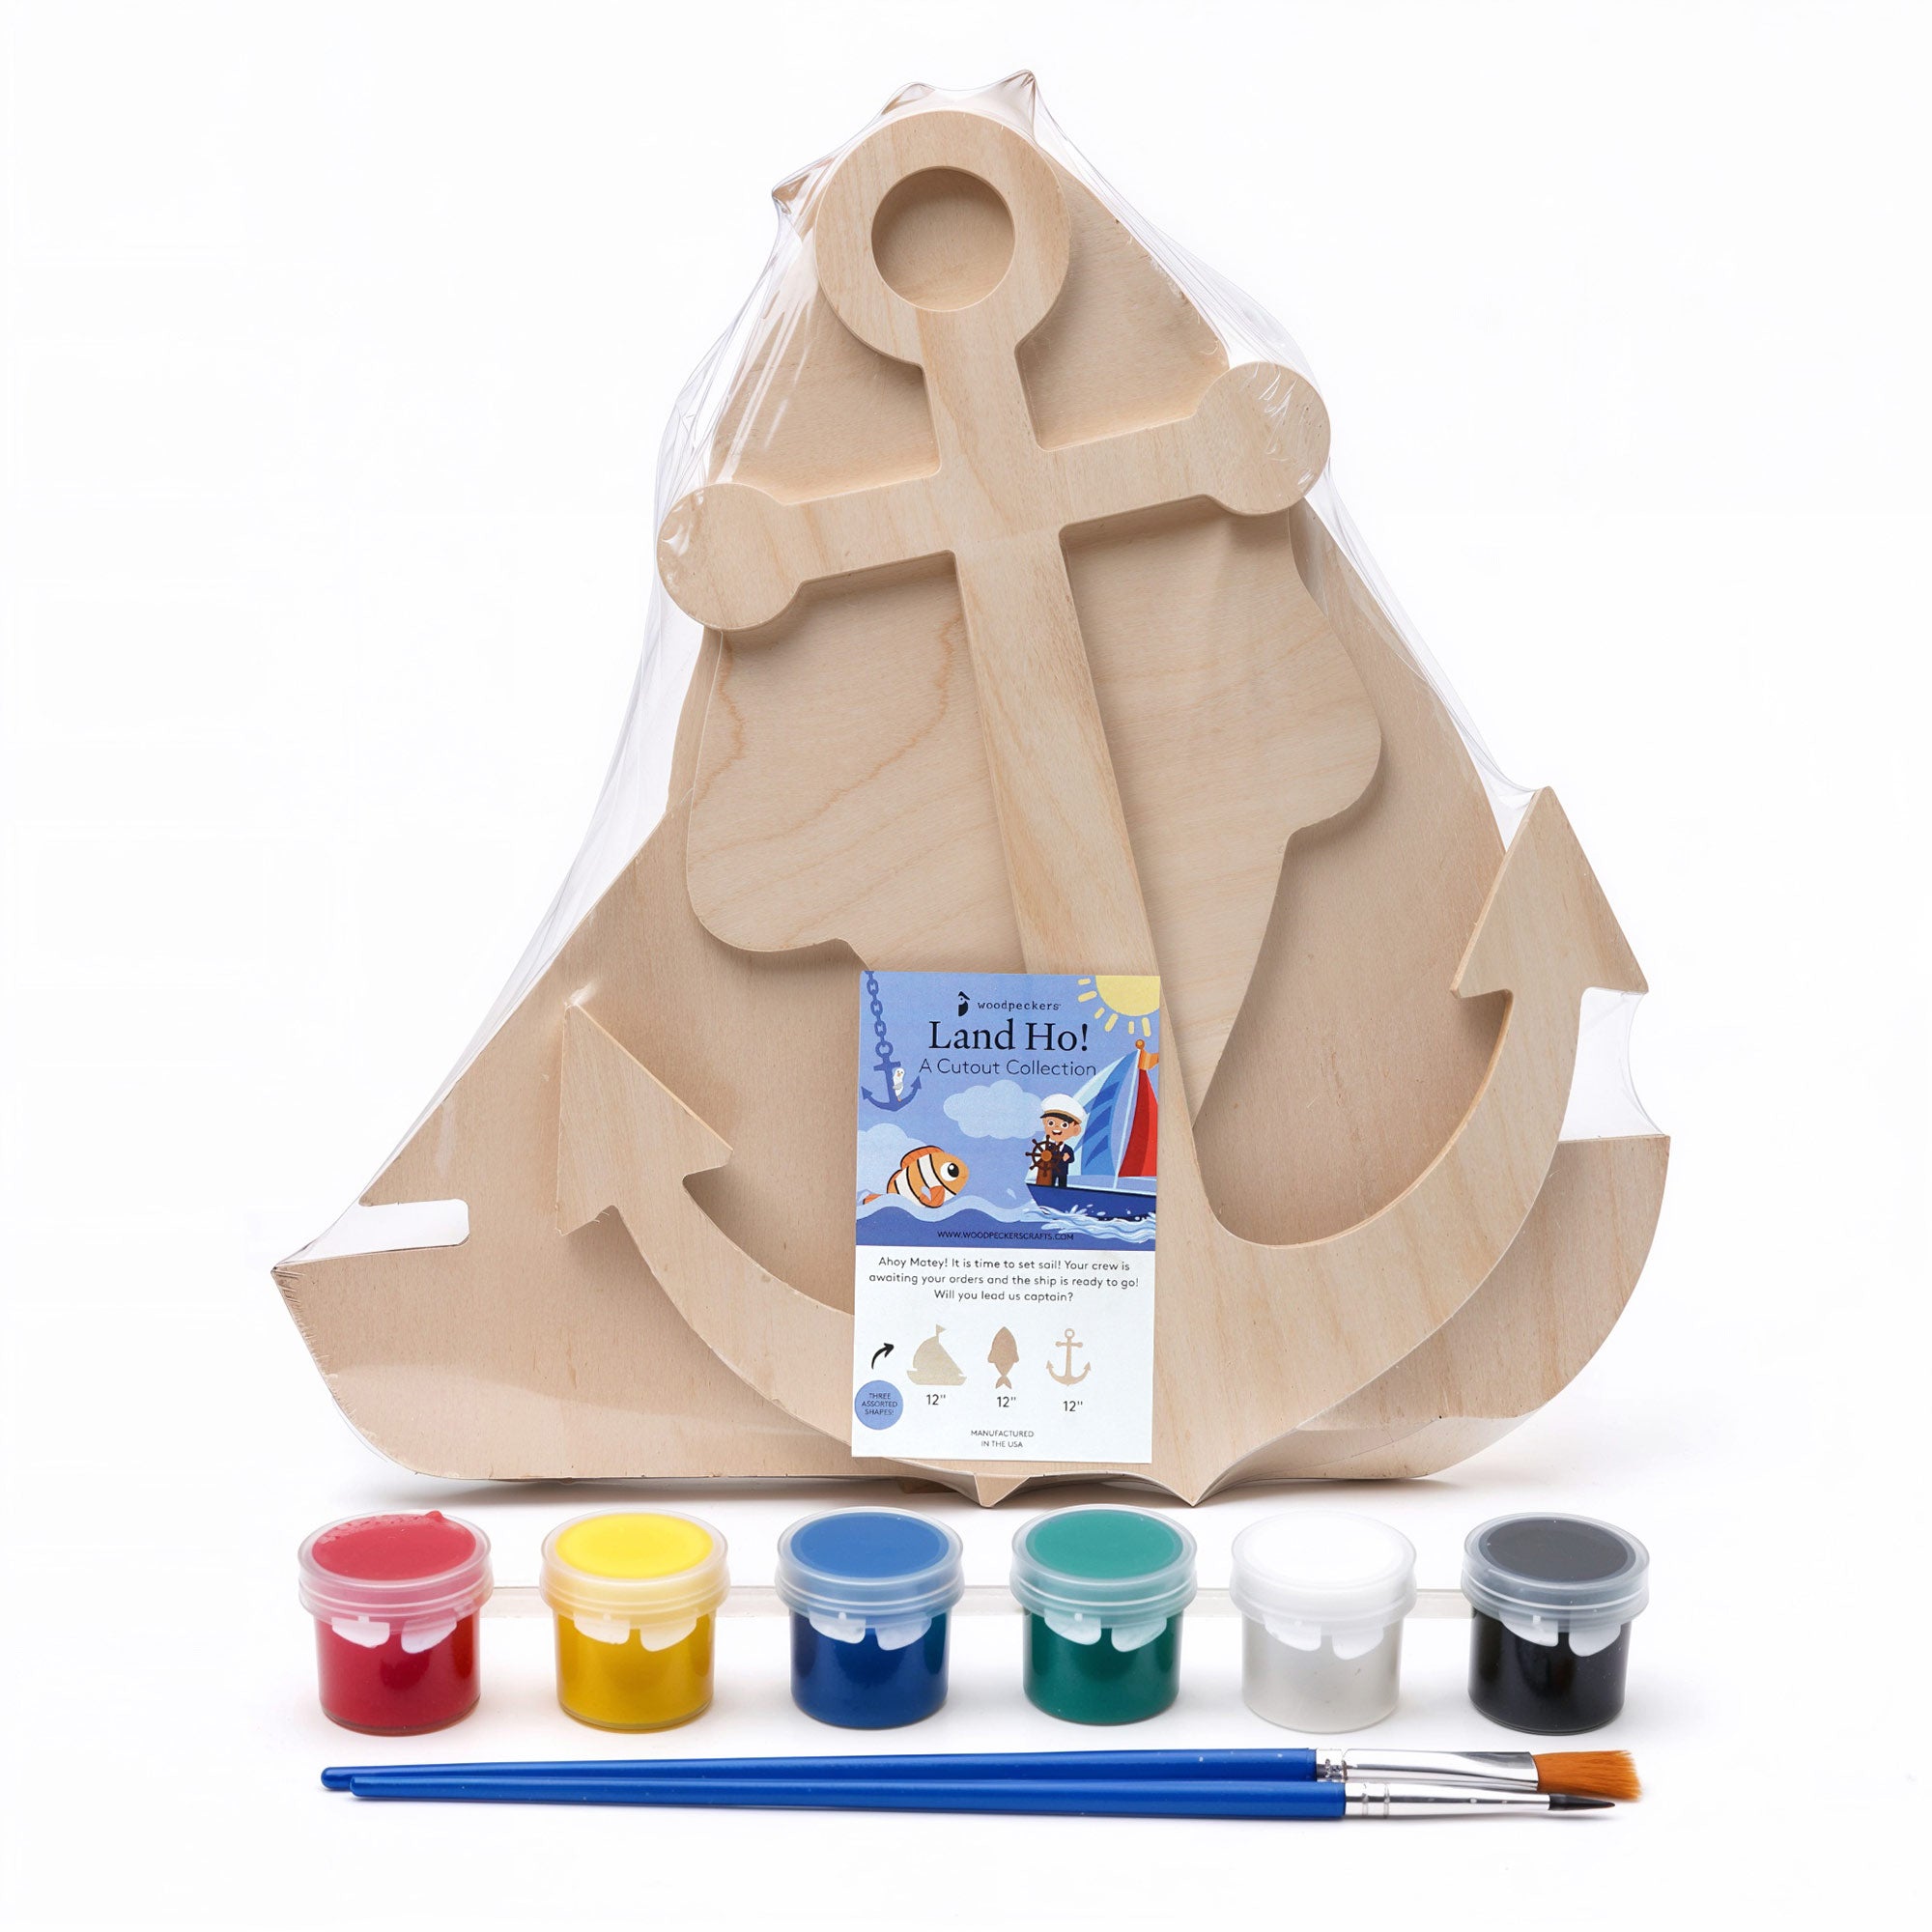
For many projects, ⅛” and ¼” plywood hit the sweet spot. They’re thin enough to cut, paint, stain, glue, and stack. They're strong enough to hold their shape. And because Woodpeckers’ Baltic birch plywood comes unfinished, you get to decide what happens next. Paint it bright. Stain it warm. Burn a design into it. Add vinyl. It’s completely up to you.
Let’s talk about the kinds of crafts and projects that actually need thin plywood, plus how to pick the right thickness before the sawdust starts flying.
When a project needs thin wood
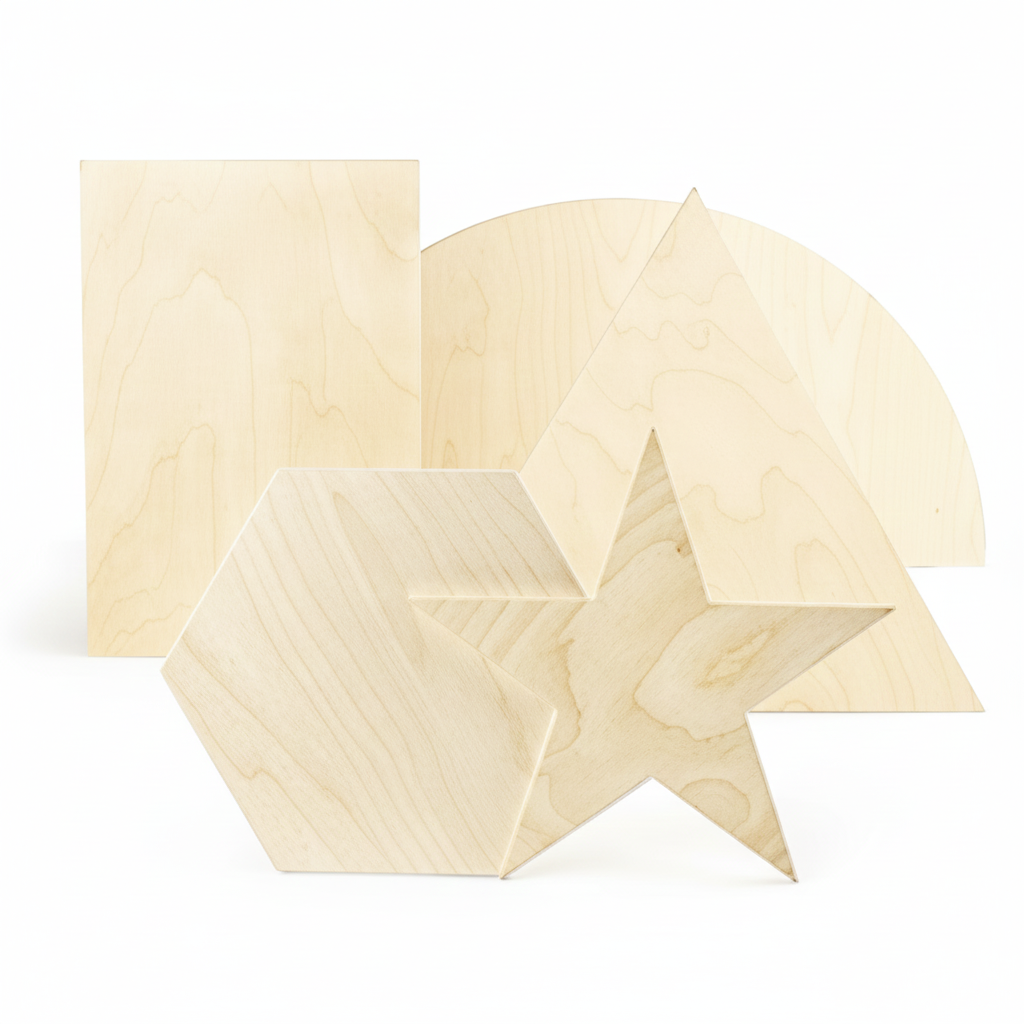
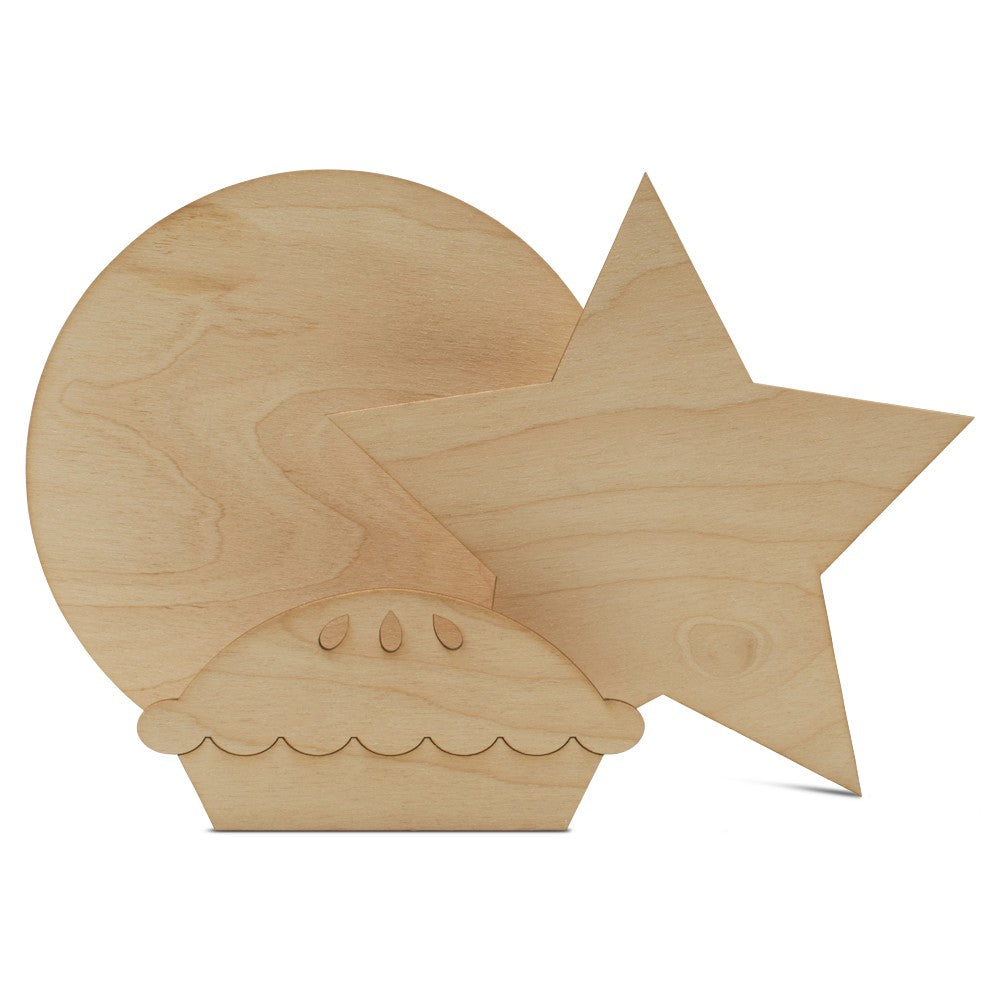
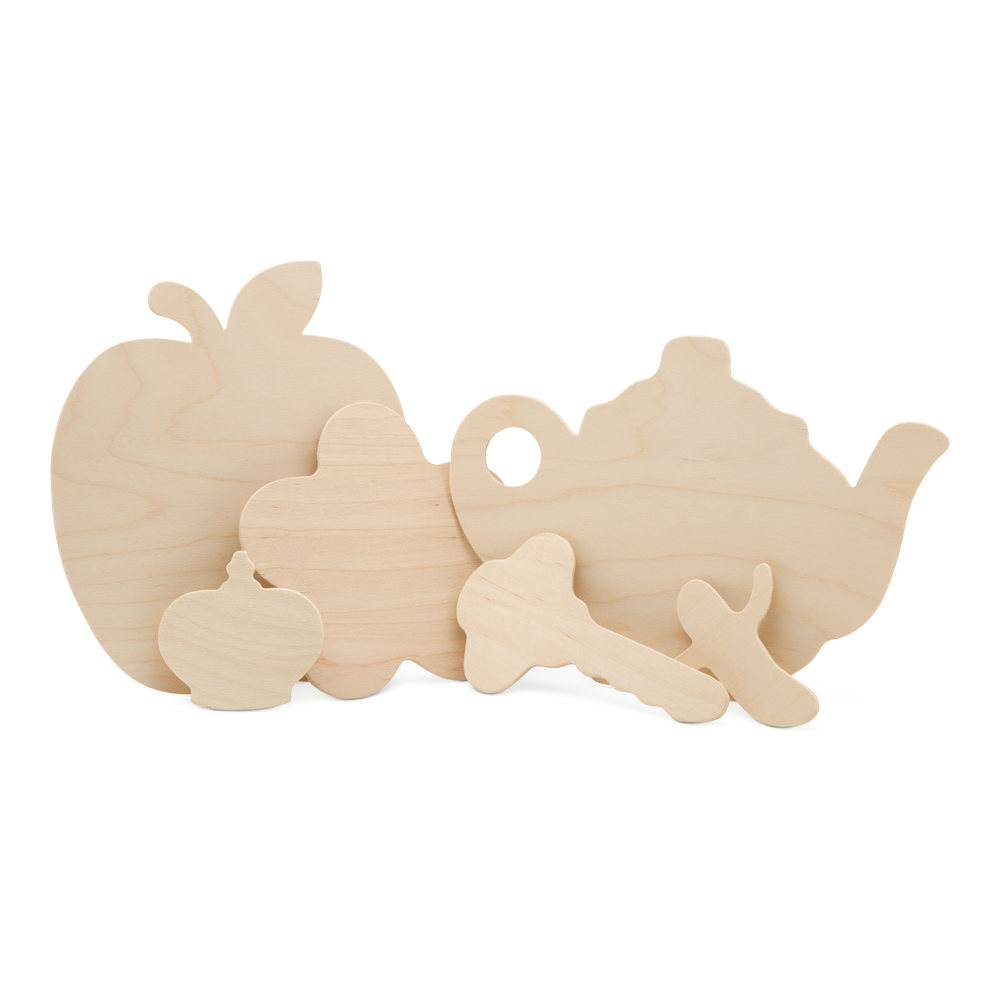
Some projects only work well when the wood stays light and neat. Think ornaments, signs, cutouts, place cards, tags, nameplates, wall art, shelf accents, and layered shapes. They don’t need bulk. They need a clean surface and a steady shape.
Thin plywood is helpful when you want wood to look like wood, but you don’t want a heavy piece. A ⅛” sheet is easy to handle for small crafts. It works well for ornaments, laser cutouts, classroom shapes, bookmarks, mini signs, and layered details. It gives you that real-wood feel without adding much weight.
A ¼” sheet has more body. Use it when the project needs to stand up, hang on a wall, or handle a little more use. It’s a good choice for larger signs, kids’ toys, shelf decor, small trays, door hangers, sturdy cutouts, and pieces that need more depth.
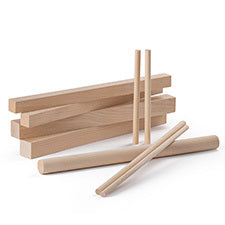
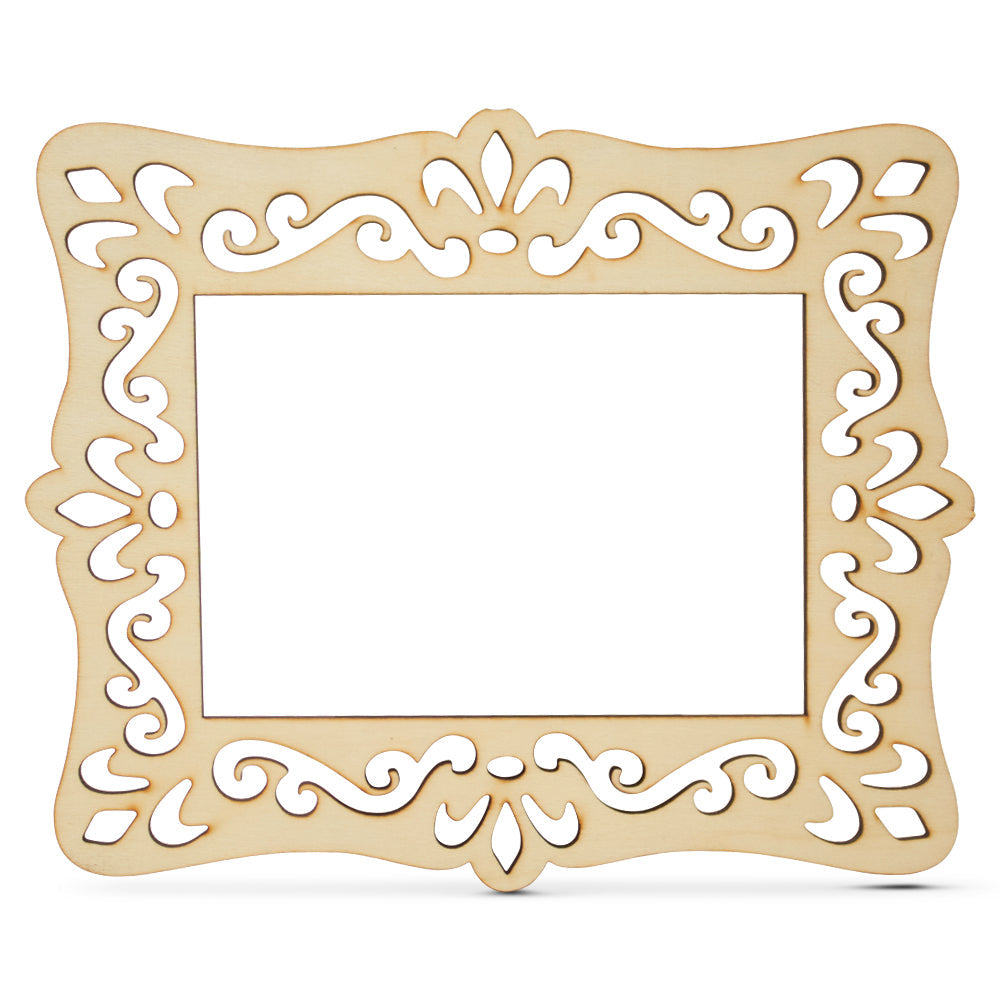
Thin wood strips for crafts are useful, too. You can cut strips from plywood sheets for borders, frames, dollhouse trim, model building, mini fences, plant markers, or layered designs.
⅛” vs ¼”: Which thickness makes sense?
This is where projects get picky. Not in a big way. More like a “please don’t use the thick piece for the tiny ornament” way.
Choose ⅛” for lighter projects
Use ⅛” plywood when the project needs to stay slim. It’s a great choice for ornaments, garlands, gift tags, bookmarks, small signs, greeting card pieces, scrapbook covers, and laser-cut layers.
If you're making a Christmas ornament, ⅛” wood is usually easier to hang. It will not drag down the branch like a tiny wooden kettlebell. If you’re making layered wall art, it stacks nicely without becoming too chunky. If you’re using a laser cutter, thinner plywood can be a better fit for detailed cuts and smaller shapes.
It’s also helpful for kid crafts. The pieces are lighter. They’re easier to paint. Give a child a giant slab of wood and things can get intense fast.
Choose ¼” for sturdier pieces
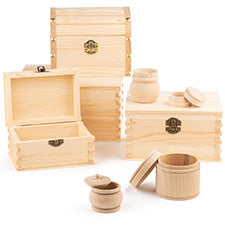
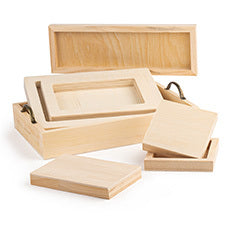
Use ¼” plywood when the project needs more strength or a finished look. It works well for door hangers, larger signs, shelf sitters, puzzle pieces, toy parts, name cutouts, small boxes, and decor that needs to hold up.
The extra thickness gives the piece more presence. A ¼” sign looks more substantial on a wall. A shelf sitter stands better. A toy piece feels sturdier in the hand. It still counts as thin wood, but it has a little more backbone.
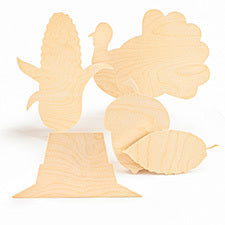
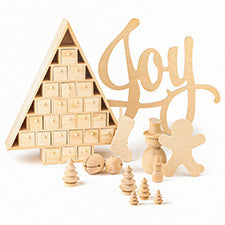
For projects that will be moved around, handled, or displayed year after year, ¼” is often the safer pick. Holiday decor is a good example. If you’re making a reusable Thanksgiving sign, Christmas village piece, or birthday board, the thicker sheet may be worth it.
Projects that work best with thin plywood
Thin plywood is not just “wood, but smaller.” It opens up different kinds of projects. That sounds a bit grand, but it’s true. Try making a delicate layered name sign from a thick board and see how fast the fun leaves the room.
Here are some projects that call for thin wood sheets for crafts:
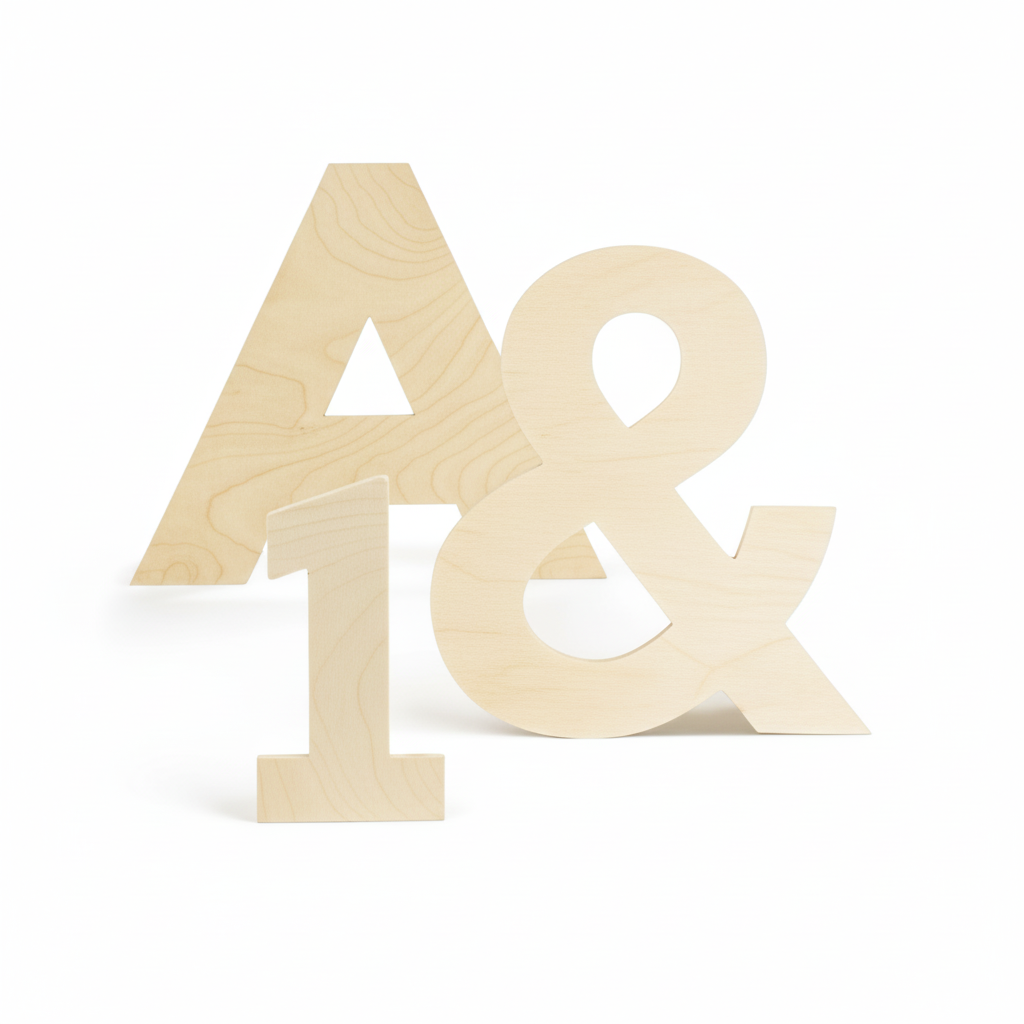
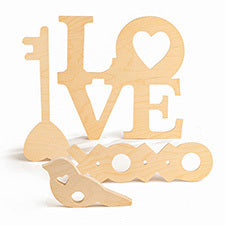
- Laser-cut ornaments, signs, letters, and layered art
- Dollhouse walls, floors, shingles, furniture, and trim
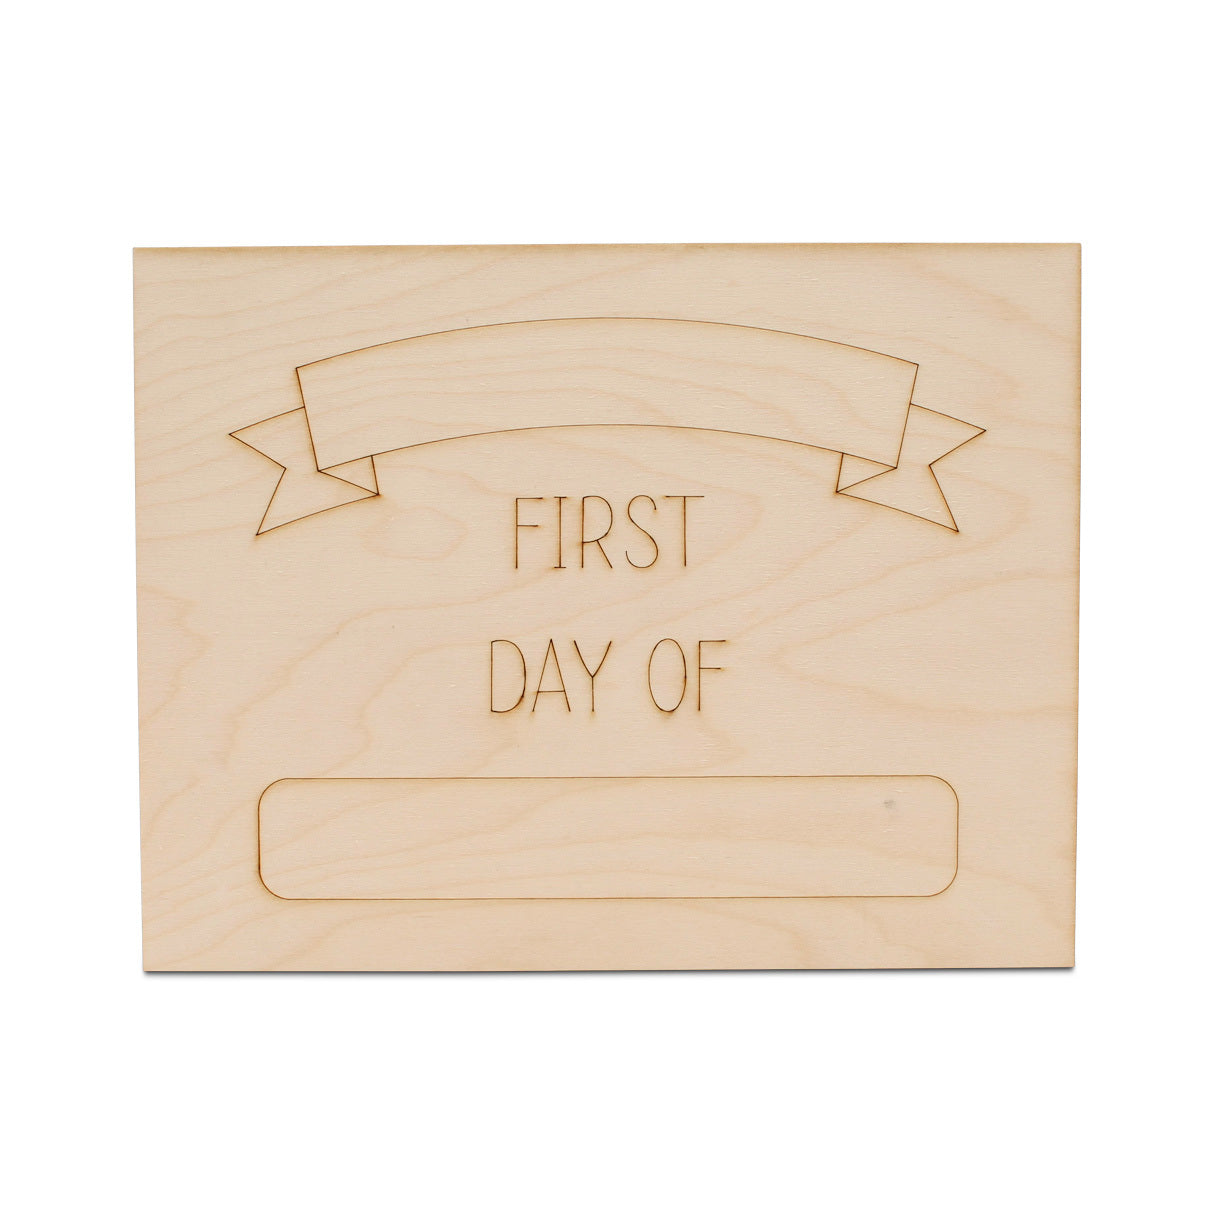
- Classroom signs, name tags, reward boards, and project pieces
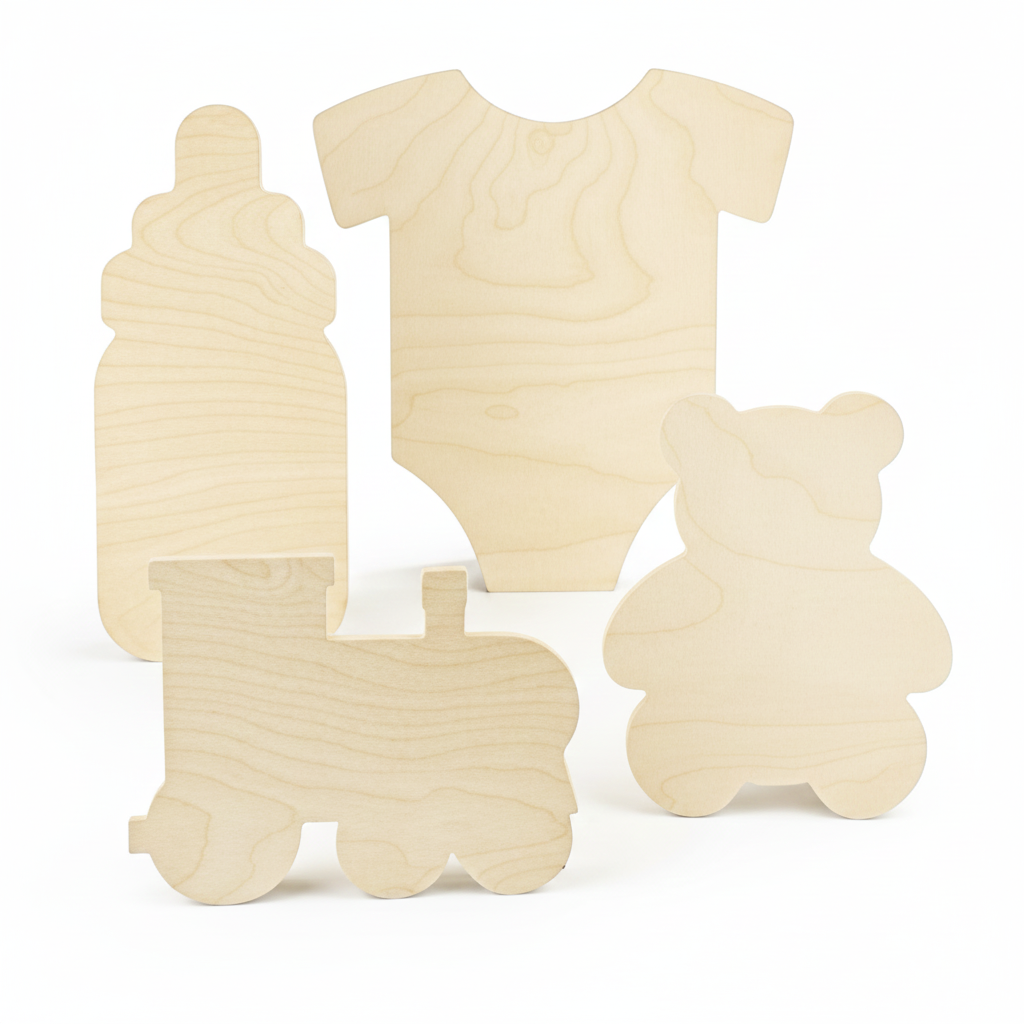
- Door hangers, shelf sitters, nursery decor, and wall shapes
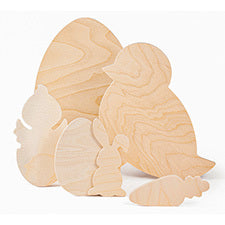
- Holiday villages, advent calendars, gift tags, and tree ornaments
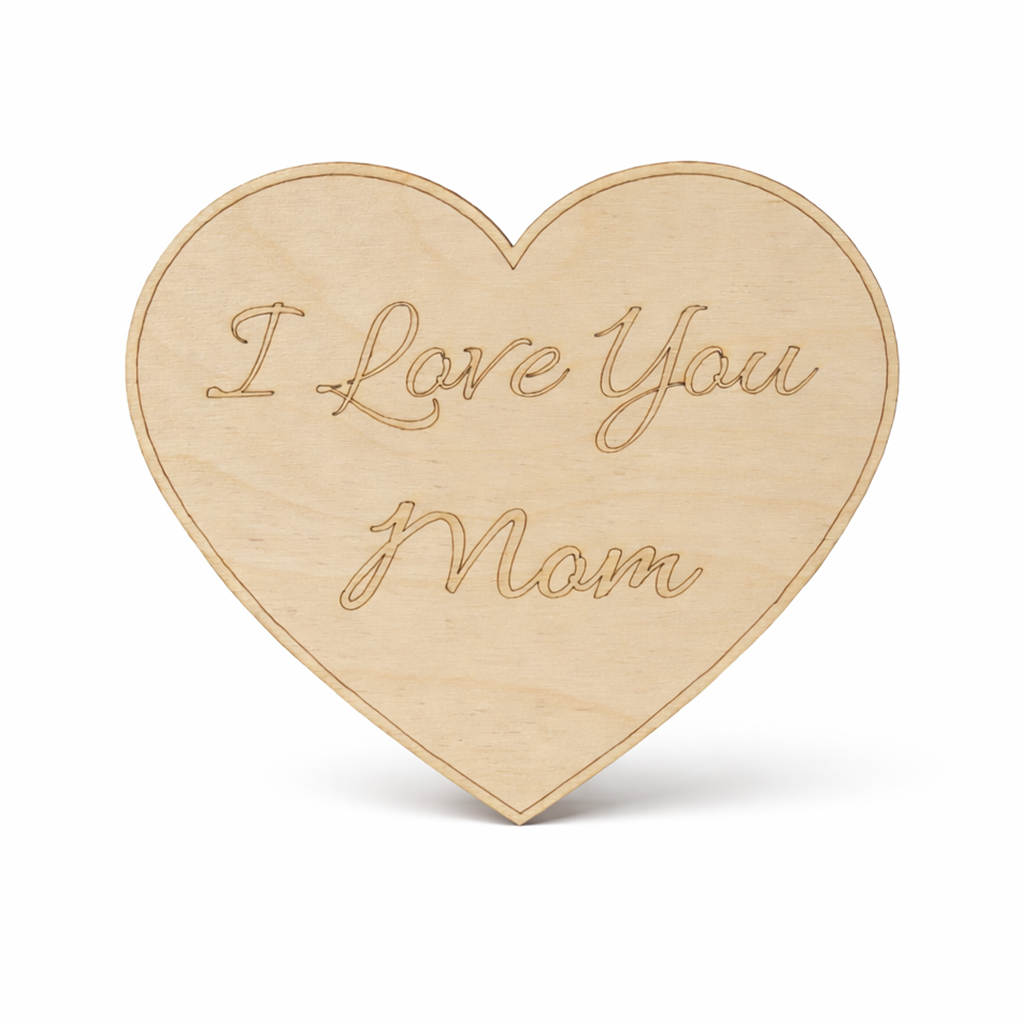
- Wood-burned bookmarks, plaques, recipe cards, and keepsakes
- Model buildings, mini fences, dioramas, and display bases
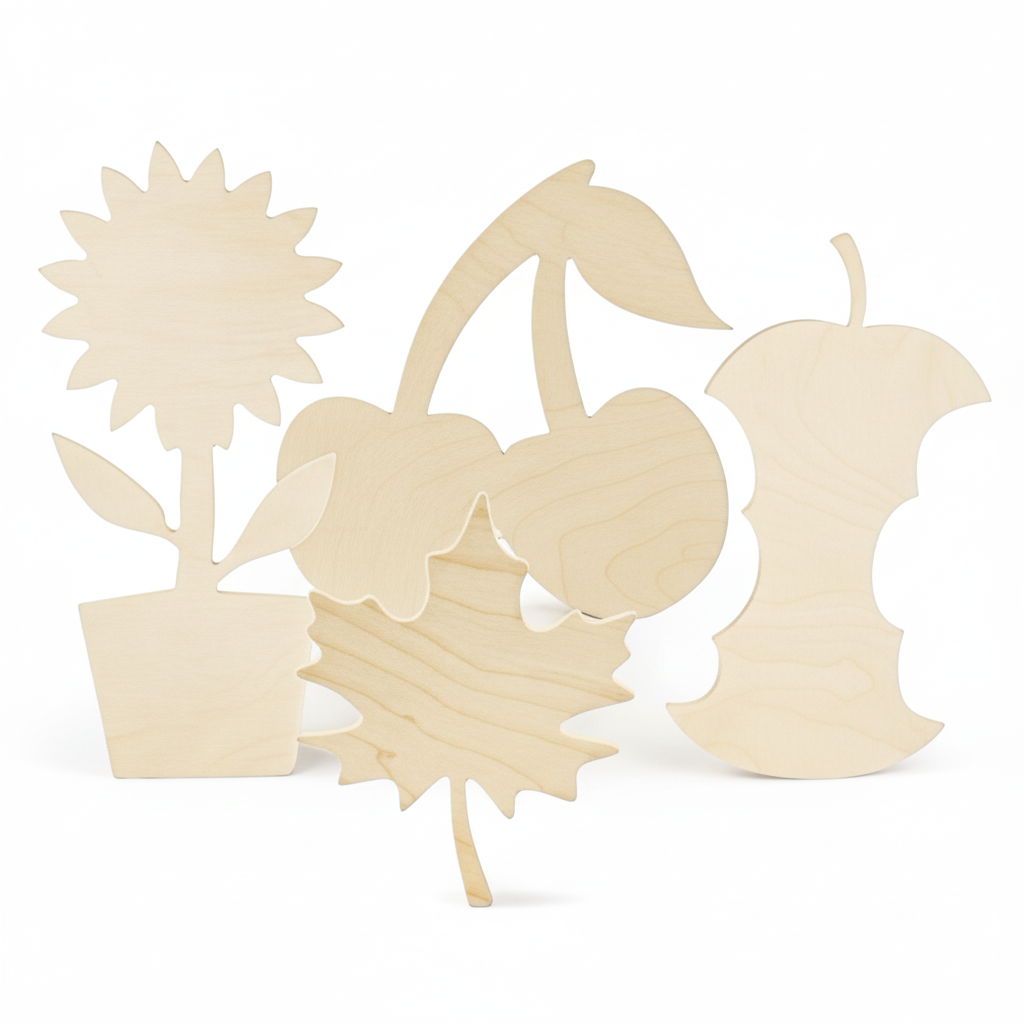
- Painted shapes, stenciled signs, photo props, and party decor
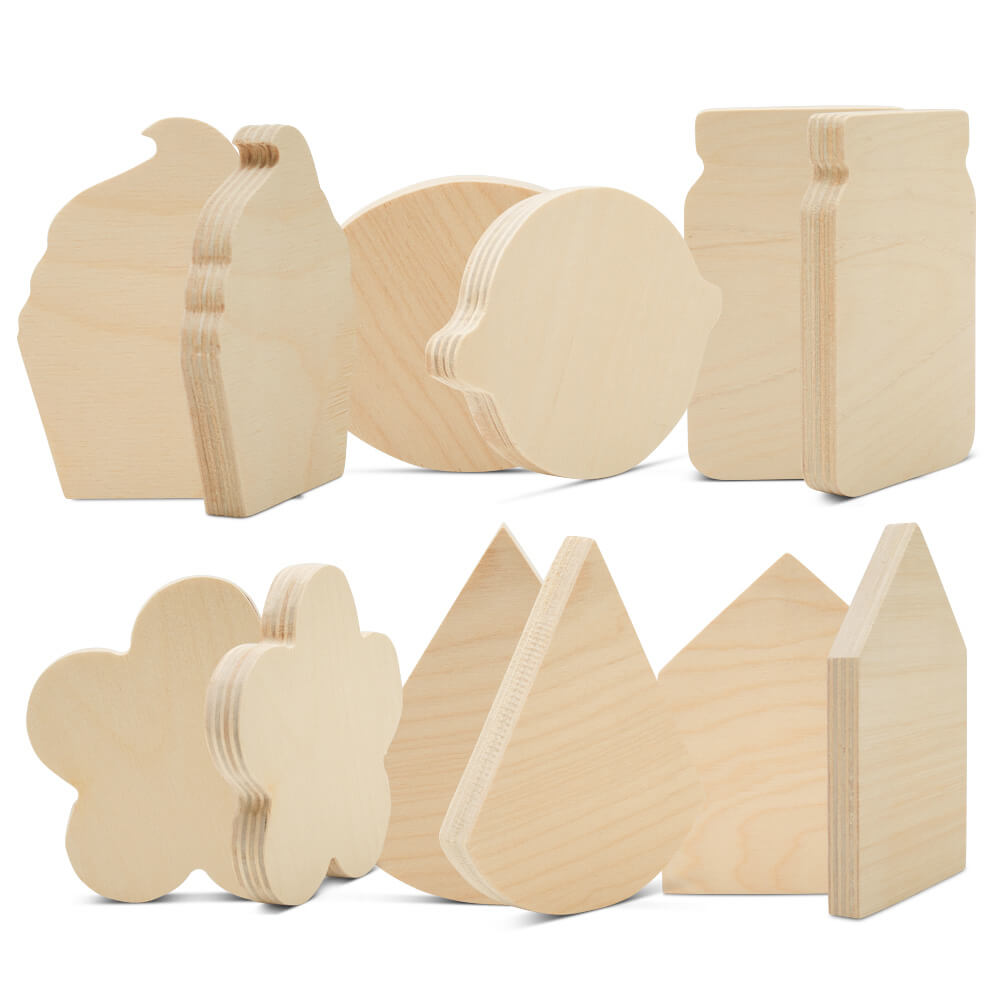
Thin plywood is especially nice for layered crafts. Cut a background shape from ¼” wood, then add ⅛” pieces on top. The base feels sturdy. The top details stay light.
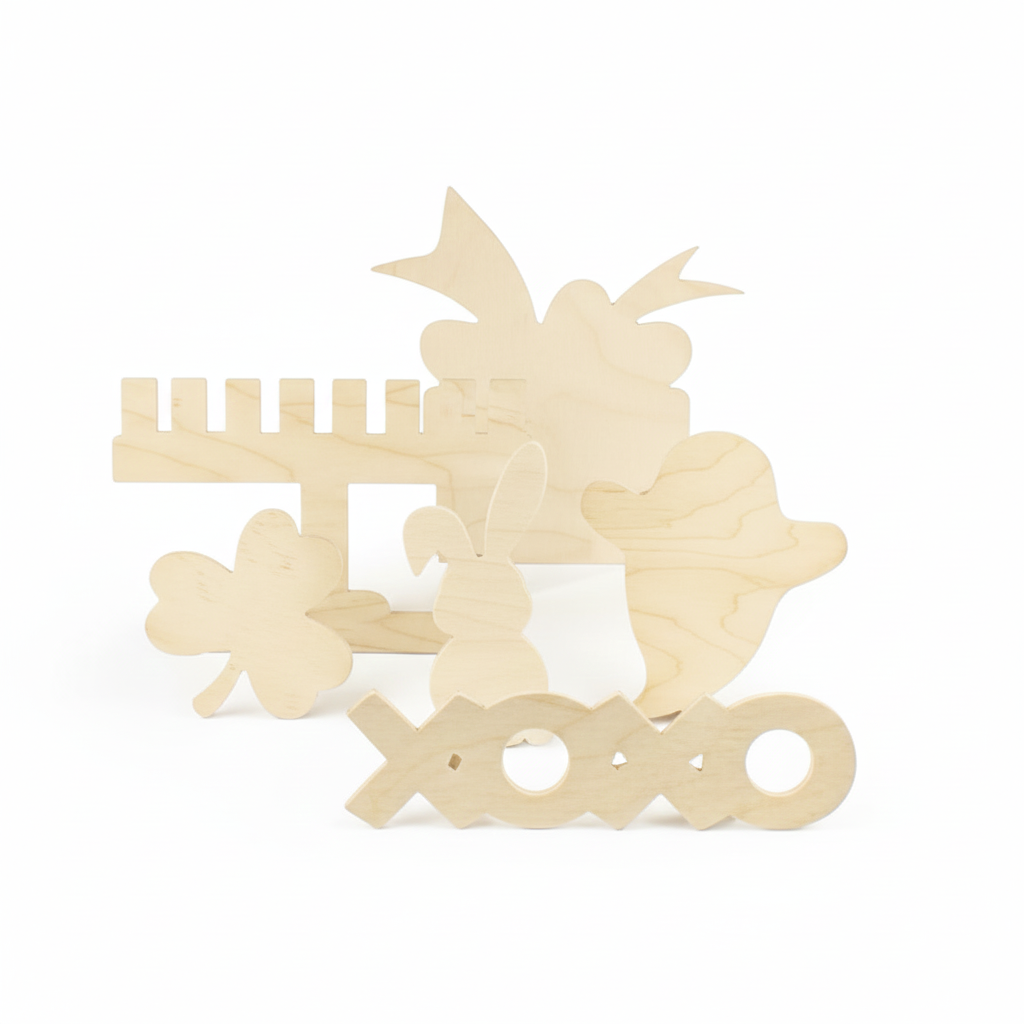
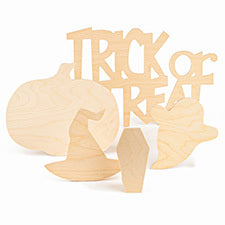
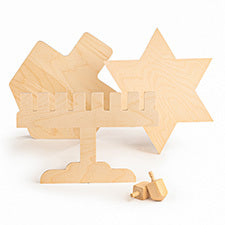
It all works well for seasonal projects. Halloween cutouts. Christmas ornaments. Easter tags. Back-to-school signs. Little Valentine hearts. The calendar changes, and suddenly plywood is back on the table again.
A few shop tips before you start
First, choose the sheet size based on the project, not based on wishful thinking. A tiny ornament doesn’t need a 24” x 48” sheet unless you’re making a whole tree’s worth. A big door hanger shouldn’t be squeezed out of scraps unless you enjoy creative regret.
Next, plan your cuts. Thin plywood is friendly, but it’s still wood. Measure first. Mark lightly. Keep the grain direction in mind if it matters for the look of your project. If you’re cutting thin wood strips for crafts, use a straight edge and go slowly. Rushing is how you get one strip that looks like it took a scenic route.
For staining, test first if you can. Different stains can change the look quickly, especially on lighter wood. For wood burning, practice on a scrap piece. Your first line is rarely your best line.
Small sheets and big plans with Woodpeckers
The best thing about thin wood for crafting is how useful it is. It doesn’t demand a huge workshop. It doesn’t need a big plan. It can become a sign, a toy, a tag, a tiny house wall, a tree ornament, a name cutout, or a piece of layered art.
Start with ⅛” plywood when you need something light, delicate, or easy to layer. Reach for ¼” plywood when your project needs more strength, depth, or structure. Keep a few sheet sizes around if you craft often. Future you will be thankful.
Woodpeckers’ unfinished Baltic birch plywood gives you a clean starting point, whether you’re cutting, painting, staining, wood burning, or gluing on tiny pieces that somehow matter very much. Because in crafting, the small details do matter. Sometimes they are the whole project.
So clear a little space, pick the sheet that fits the job, and get started. Thin plywood may not look flashy at first. Give it a minute. It's probably about to become something great.
Did you enjoy our guide to thin wood for crafting? Be sure to check out our thin wooden sheets shop to find the perfect gift for yourself or a loved one!