


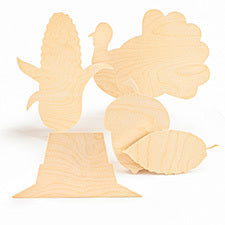


There’s a reason so many families keep coming back to wood Christmas ornaments year after year: wood behaves! Paint sits where you put it, edges stay clean, and the finished piece survives spring, summer, and fall in a storage bin without cracking or curling.
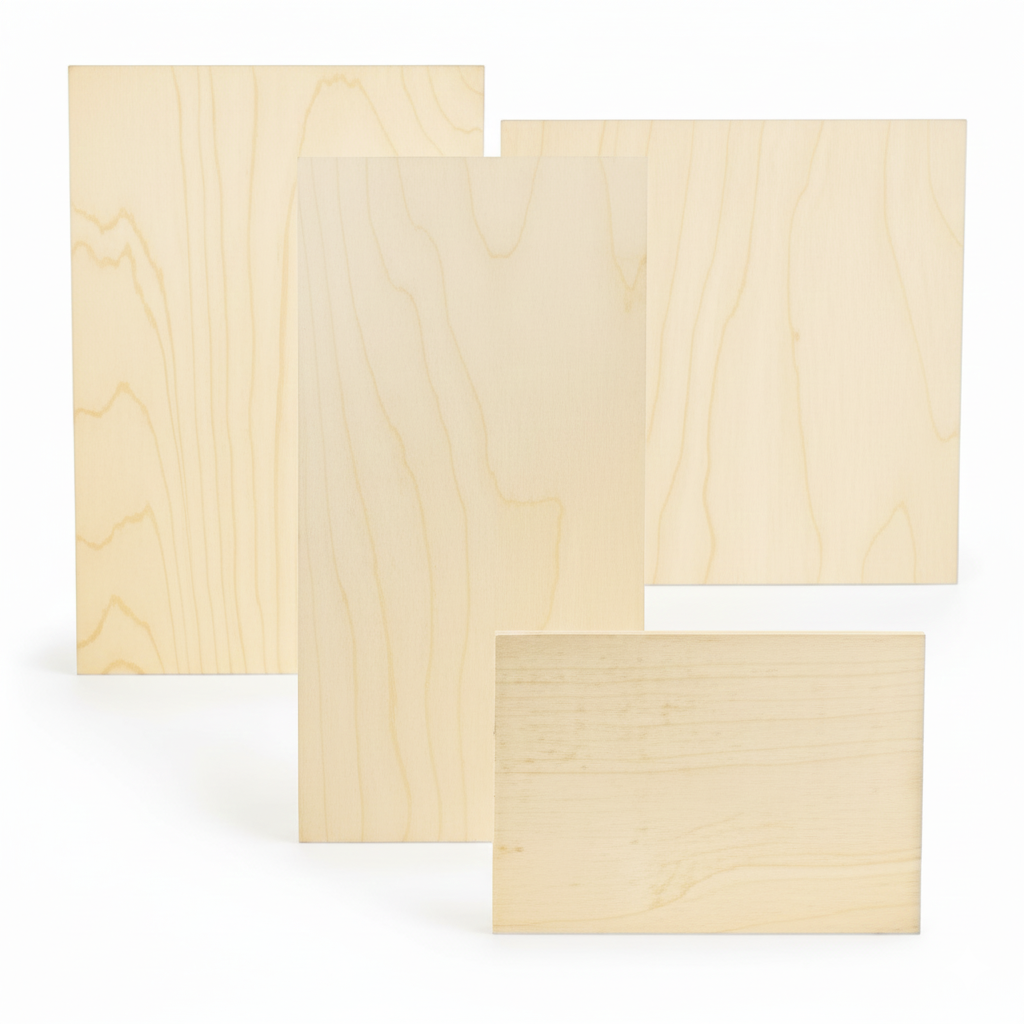
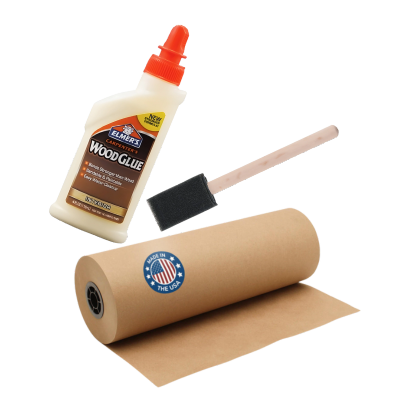
If you’re building a set of Christmas tree ornaments that will earn their spot each year, start with simple prep by brushing on a thin base coat of paint. Primer keeps white bright and reds true; chalk paint works too, if you want a velvety base.
From there, let your palette follow your room. In a space full of warm textures (think baskets, knit throws, and candlelight), deep greens, cranberry, and cream feel right. In cooler rooms, navy, charcoal, and linen with a silver pen for lettering make wooden Christmas tree decorations look modern without going cold.
And we’re just getting started! Continue reading for even more ideas to make this Christmas (and many more Christmases to come) extra special!
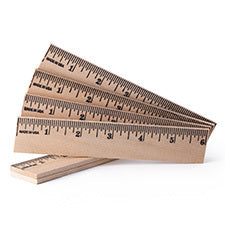
Styles and finishes for wooden Christmas tree decorations
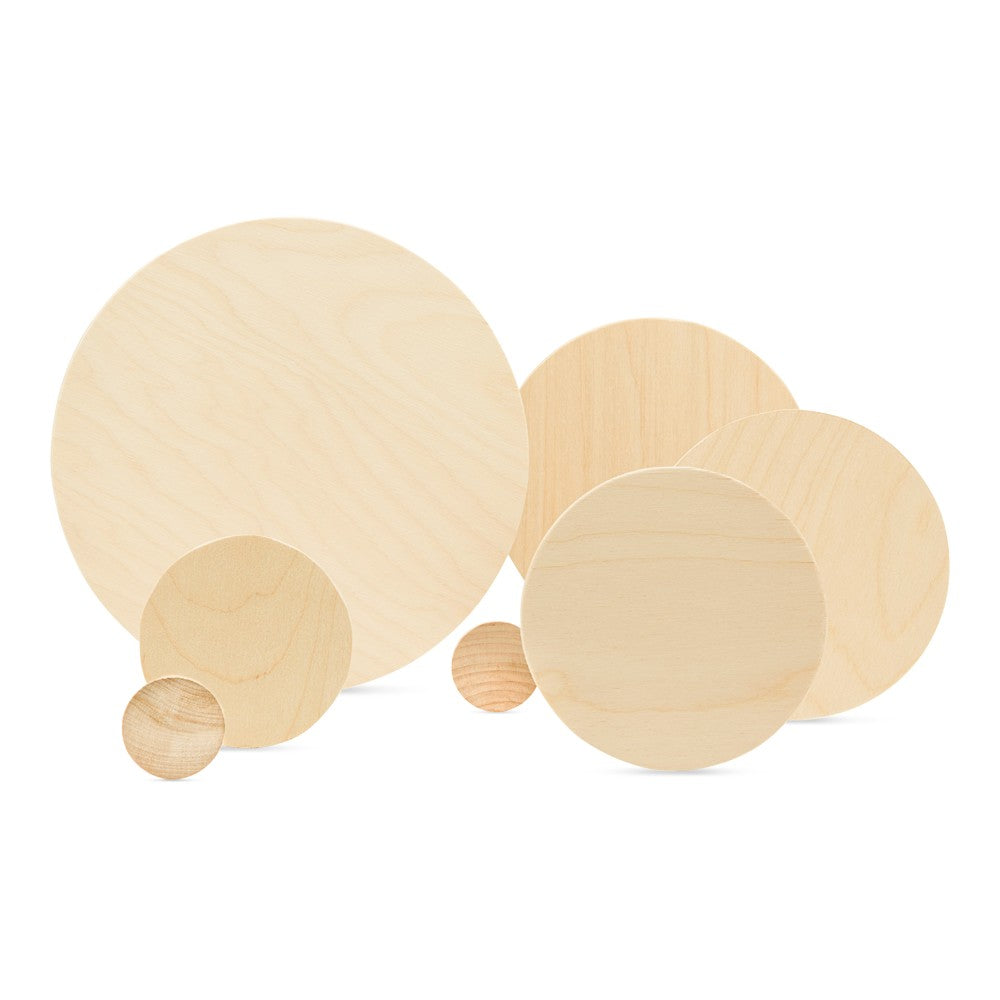
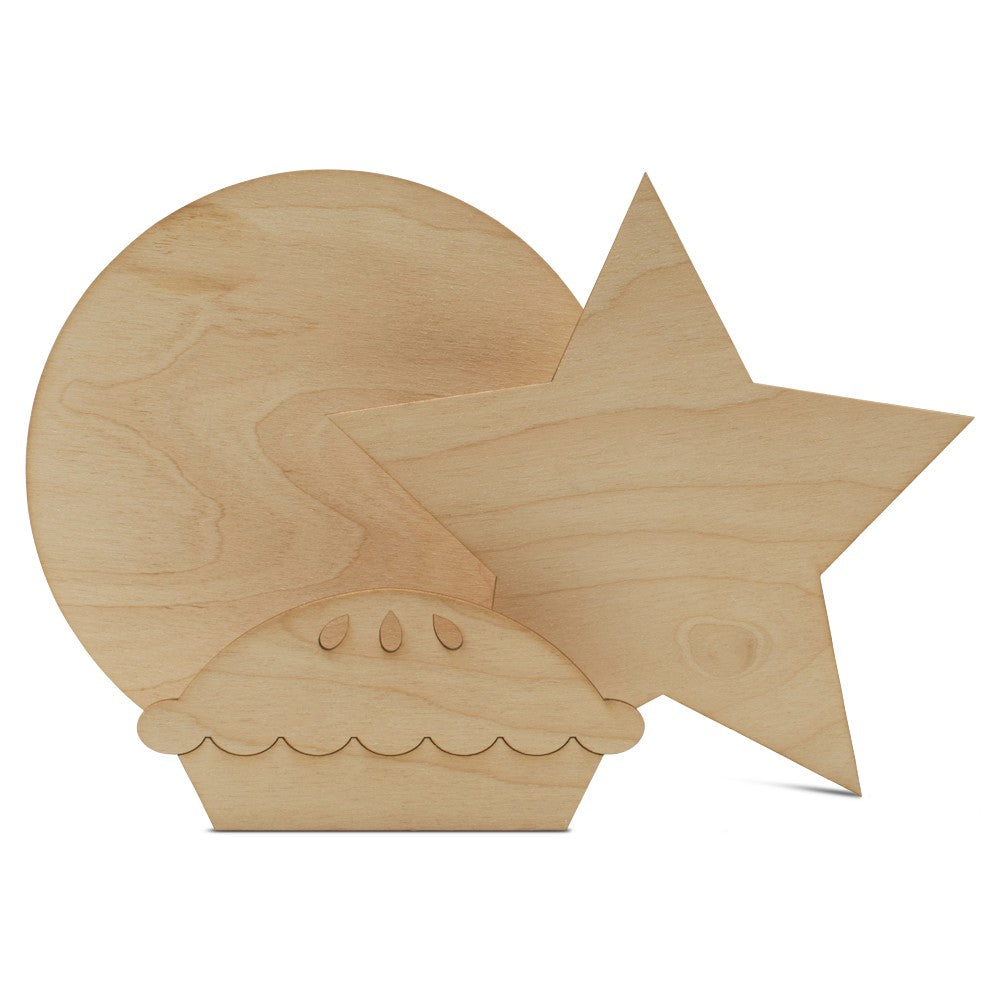
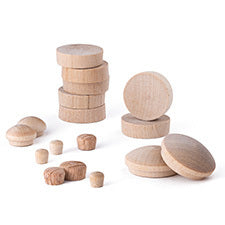
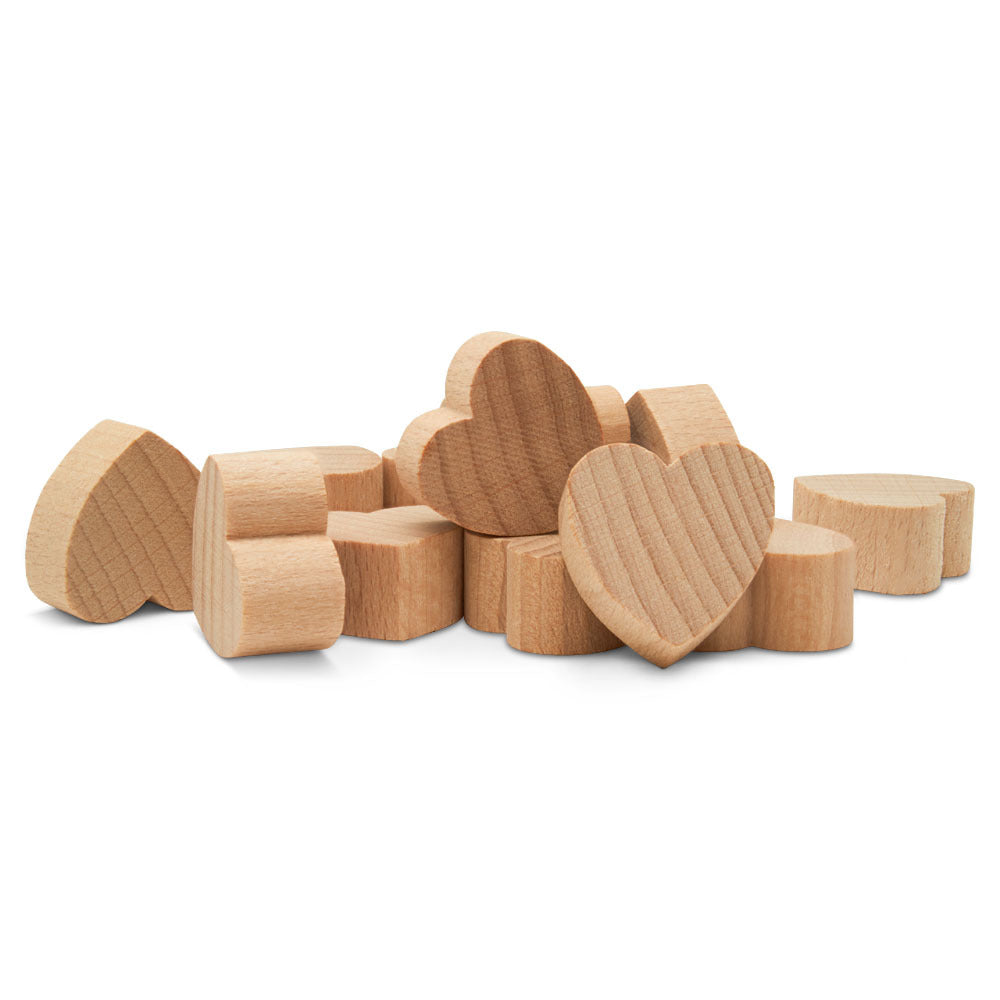
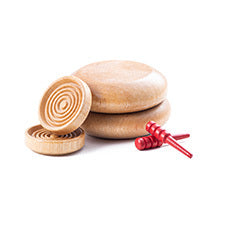
Rounds and discs are ideal for readable designs. Mask a lower band, paint a contrasting block, and letter words like “joy, “home,” or “noel.” Pencil first, then trace with a paint pen. For quick variations, try midnight-blue stars with white speckles and a silver edge or trees with stained trunks and tapped “snow” tips. Hearts in raw wood with a burned initial are also great for couples celebrating the holidays.
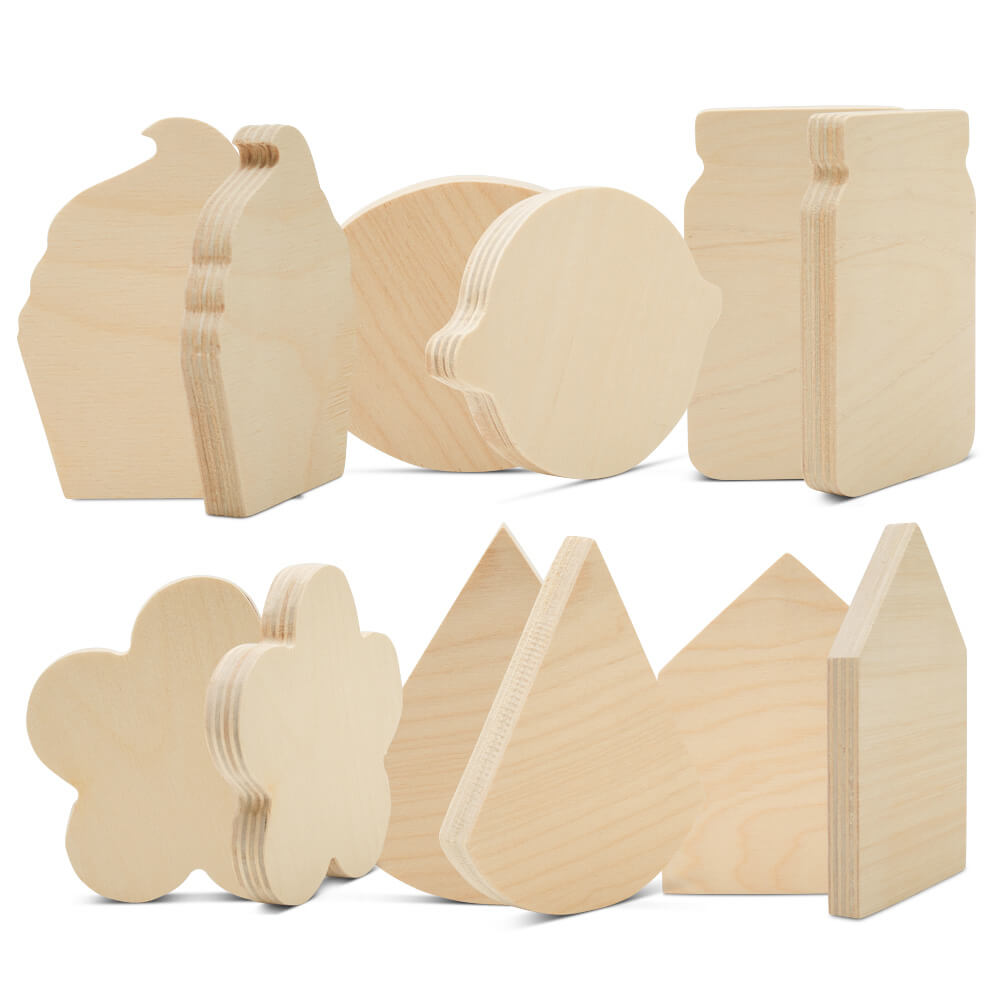
Regardless of the shape or theme you’re going for, don’t forget to add texture! Dry-brush edges, tie linen ribbon, or attach faux greenery. For rustic Christmas ornaments, keep two wood tones, soft white, and green. Use flannel hangers for staggered heights and a satin topcoat for easy cleaning.
Scale matters just as much as color. Think of decorating Christmas tree branches like arranging a photograph: anchors first, pattern second, sparkle last. Hang larger rounds and tall silhouettes at eye level and slightly above to establish the rhythm of the tree. Sneak the smallest pieces toward the trunk so the lights catch them and pull the eye inward.
Every so often, step back and check the diagonals. If two big circles line up, nudge one or slip a smaller star between them. When the arrangement feels right, the rest of your Christmas decorations (garlands, stockings, toppers, and so on) fall into place more easily.
Personalized Christmas ornament crafts for your tree and home
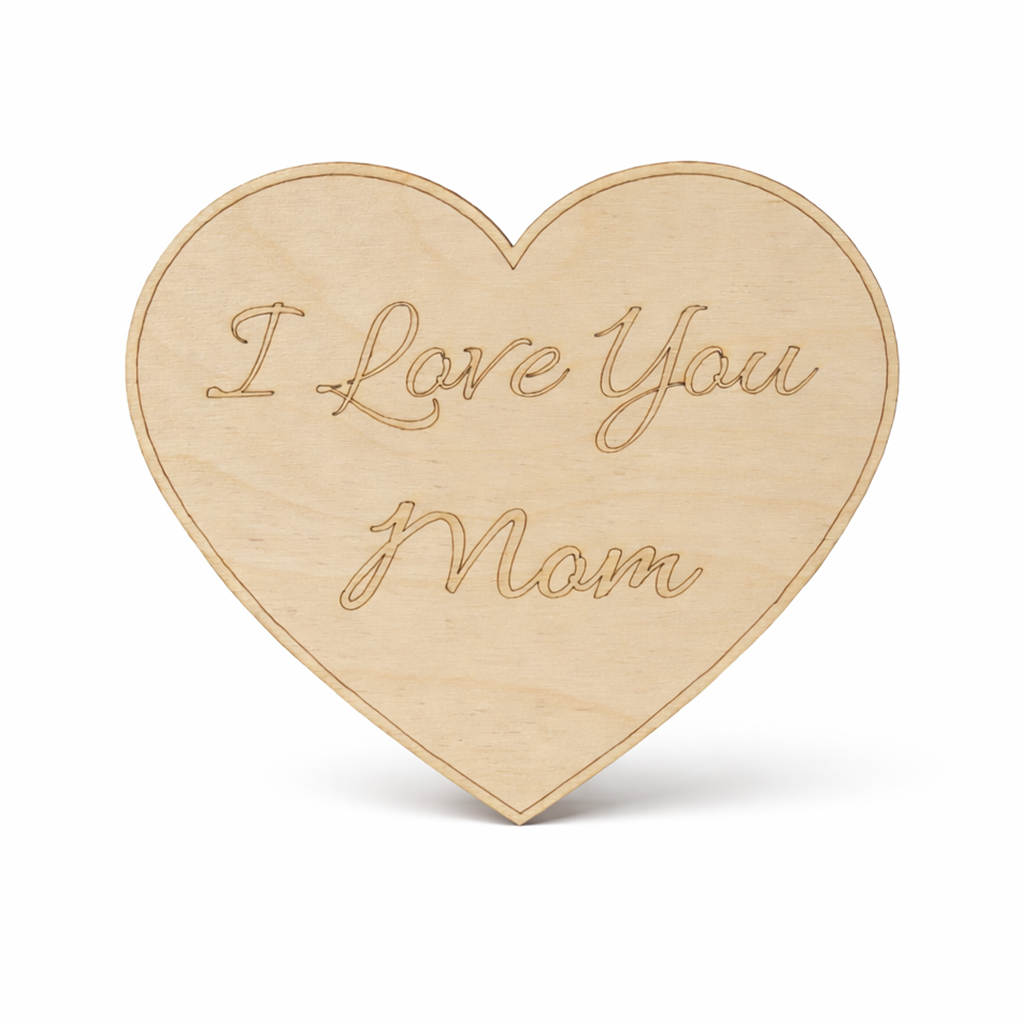
When decorating your home for Christmas, you don’t want to just reach for the same old ornaments every single year. Sometimes you should mix things up! Personalization is what turns Christmas ornament crafts into keepsakes. Names, dates, a street number on the back — small notes like those make an ornament part of your family’s story.
If you like wood-burned script, sketch lightly in pencil first, outline slowly with the burner, and fill once the outer shape is clean. For those who prefer paint, keep the words short and centered. A paint pen gives you control; an underline or single star balances space if a word feels small. For photo ornaments, trim a matte print just shy of the blank, adhere with glue or gel, and brush a thin seal on top.
Children should be part of the making, too, not just the hanging. The easiest way to set them up for success is to do the slow parts the night before. Prepaint bases in two or three colors — and save cheeks, dots, snow, and simple shapes for the kids.
Foam daubers help small hands make clean polka dots and snowballs. A cotton-swab “flurry” over navy turns into a blizzard in seconds. If you want personalized magic that still feels tidy, hand them alphabet stickers for initials and a date, then seal so those letters stay put in storage.
Specialty ideas round out a collection and earn a permanent spot in the bin (your storage bin, that is!). A “first house” keepsake takes only a rectangle painted like a tiny front door, a clipped sprig along the top like a roofline, and a street number lettered neatly on the back. Travelers can paint a pale-blue circle with soft green continents and label a destination and date; by the time the decade turns, you’ll have a small map hanging between the branches.
If you host a big dinner, make place-setting tags from mini blanks; guests take them home to hang later, and you solve the seating puzzle as soon as they walk in. When you start decorating your home for Christmas early in the season, small pieces like these help rooms feel finished even before the tree is ready.
Remember that ornaments aren’t just for trees, either. Mantels and doorways deserve attention, and wooden Christmas tree decorations can work in a variety of spaces in your home. Slip small tags or mini discs into a garland and let the ribbon pull color from the tree. Leave hangers long at first so you can adjust heights, then shorten them once spacing feels natural.
For stockings that are bold, choose raw wood and white scripts so the mantle doesn’t overpower the rest of your decorations. Carry the same three or four colors from room to room, and the house will feel intentional without looking staged. And if last season’s palette doesn’t match this year’s Christmas home décor, don’t retire the set — tape a crisp stripe across the piece, lay a new color over the band, add a fresh ribbon, and put the date on the back. The ornament becomes a layered story in no time!
Don’t forget the role that lighting plays in creating a beautiful Christmas space in your home. Warm white lights love natural wood and gold ink; cool white makes navy, silver, and charcoal sing. If you mix them, do it intentionally. Warm deep in the branches for glow, cool at the tips for sparkle — then hang your Christmas tree ornaments in that same cadence. When the lights support the finishes — rounds with tiny words, stained tags with twine, a few glossy baubles, and those personalized photo pieces all feel like they belong on the same tree.
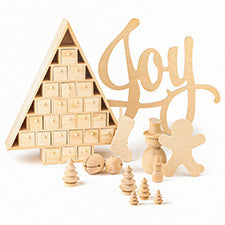
Get your DIY Christmas ornaments at Woodpeckers
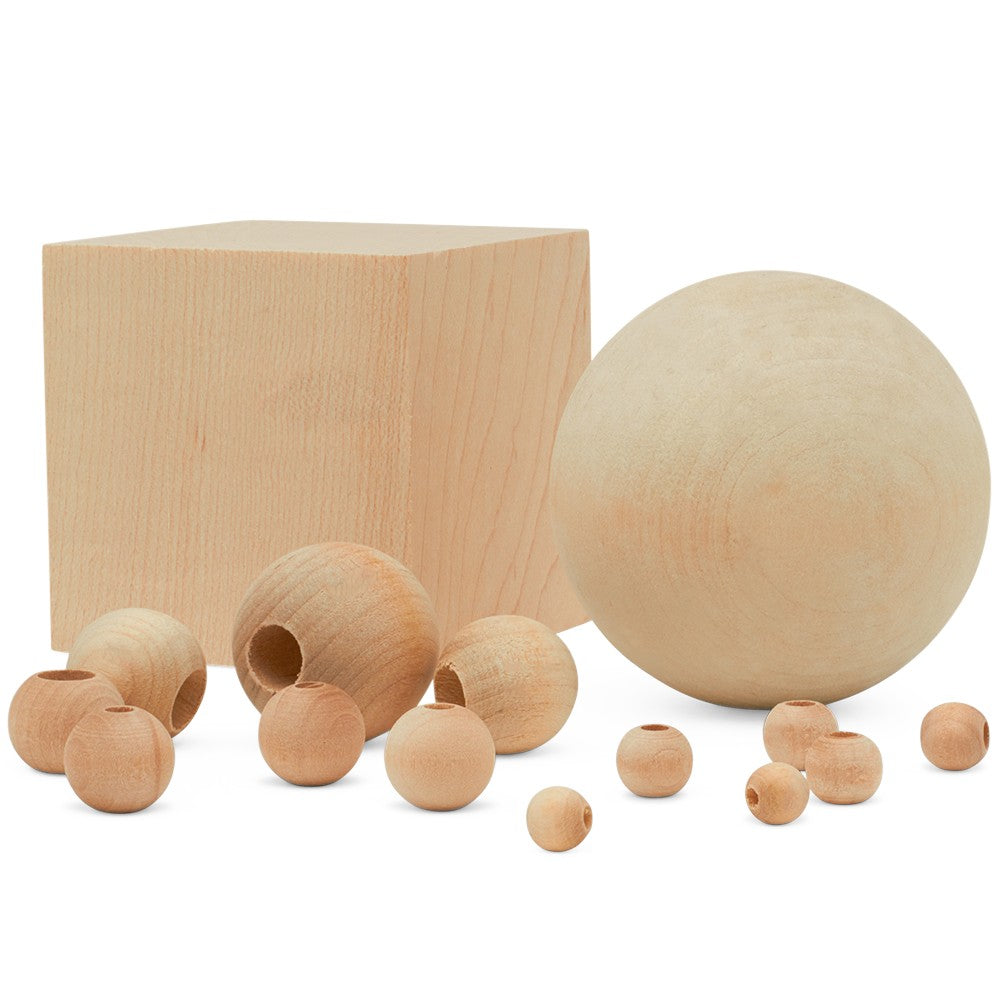
If you’ve been meaning to upgrade the box of one-off baubles into a set that feels like yours, start with quality wood. The blanks are forgiving, and the results stand the test of time. Woodpeckers’ collection of Christmas ornaments and our curated ornaments bundle make it easy to gather a mix of silhouettes and sizes without second-guessing the order.
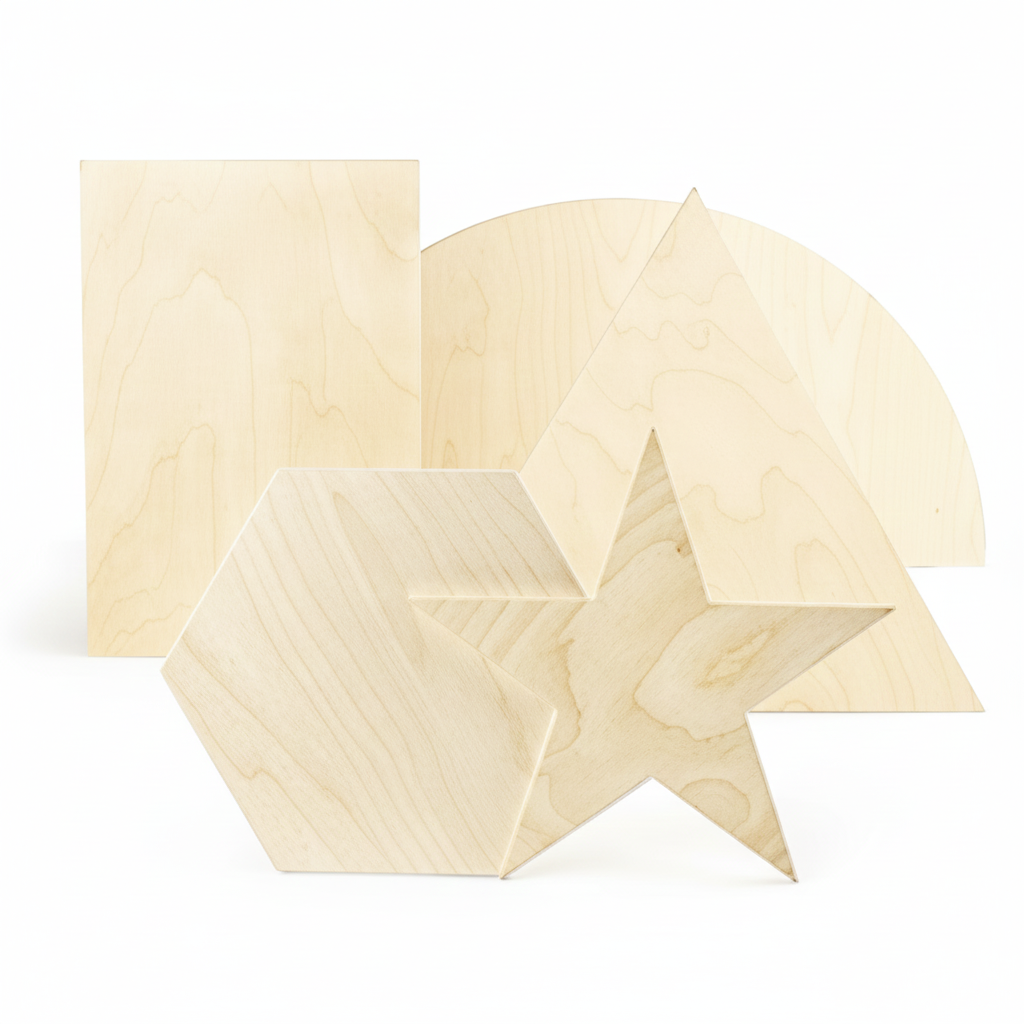
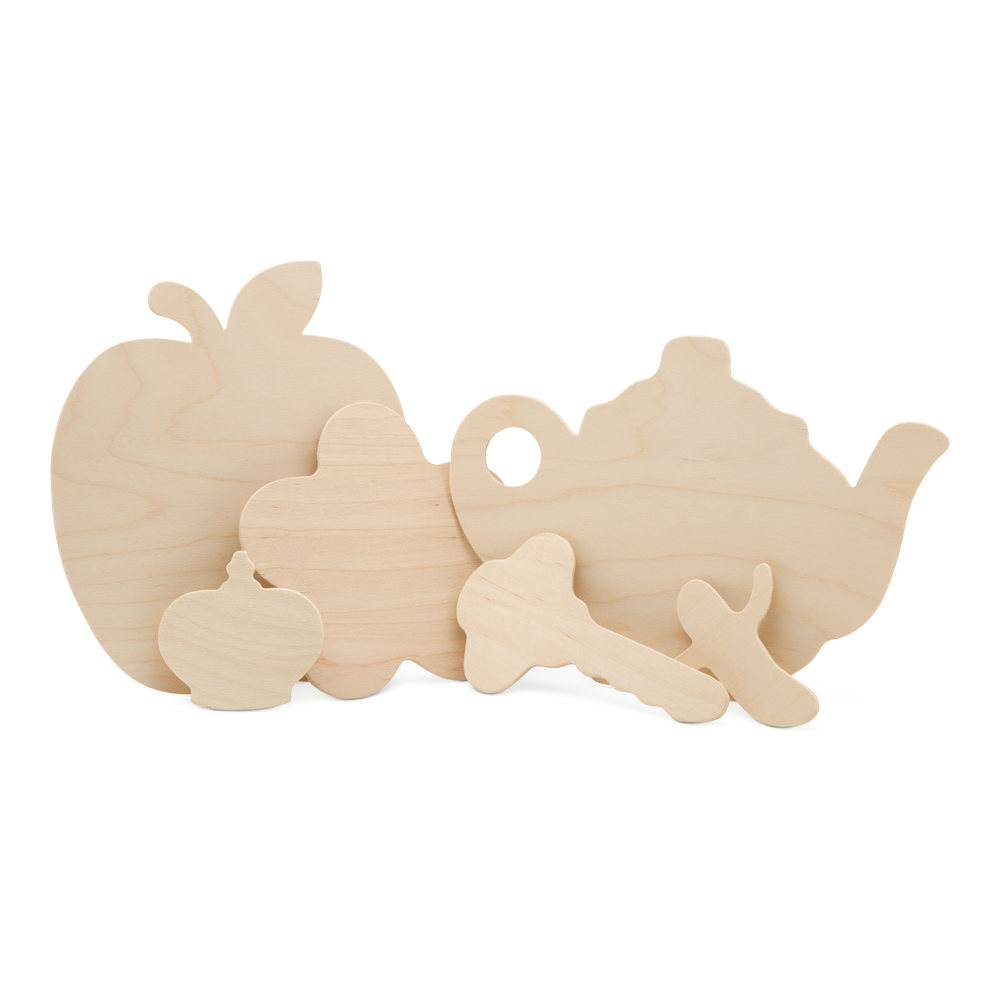
Choose shapes that match your plan — rounds and stars for simple lettering, trees and tags for rustic Christmas tree ornaments, hearts for keepsakes — and keep finishes personalized to your rooms.
Build a small palette that you like, repeat it across pieces, and let the mix of texture and scale balance the visuals out. By the time you’re decorating the Christmas tree branches and finishing the mantle, your Christmas decorations will look collected, not purchased, and they’ll be worth greeting again next year. That's the quiet magic of Christmas home décor in wood: it holds paint, it holds up, and it holds memories!
Did you enjoy our guide to DIY wooden Christmas ornaments? Be sure to check out our wooden Christmas ornaments shop to find the perfect gift for yourself or a loved one!