Wooden popsicle sticks are one of the simplest, most versatile crafting materials around. With a little adhesive, they can serve as a miniature structure or base for other crafts. And if you’re feeling particularly festive, you can simply add fun colors, paper cutouts, and other decorations to make your popsicle creations even more pop-ular!
But if you’ve never considered popsicle sticks for crafting, you might have a few questions that need to be answered first. For instance, what are craft popsicle sticks used for? Can you get different colored popsicle sticks? What about different sizes? Finally, where can you find high-quality wooden crafting sticks at affordable prices?
In today’s guide, we will answer all of these questions and more. Plus, we will provide some amazing crafting ideas for your next popsicle stick project!
Popular popsicle stick crafts
So, you just got a stack of premium wood popsicle sticks in the mail. Now what? You may have a few crafting ideas hidden up your sleeve, but if you’re like most of us, you need a little help to come up with the perfect crafting idea. Fortunately, we’ve got you covered! Let’s take a closer look at some of the most popular popsicle stick crafts you can do on your own:
Popsicle stick bridge
A popsicle stick bridge is a great crafting project for people of all ages, but it is especially useful in the classroom. What better way to demonstrate physics to young minds than building DIY bridges to see what they can (and can’t) support? Even if you don’t have a room full of eager learners, building a bridge is still a fun way to enjoy arts and crafts with popsicle sticks.
While the steps will vary based on exactly what you want to do with your creation, here are a few tips to help you make your very own DIY popsicle stick bridge:
- Try to imagine your bridge design in advance and, ideally, put pencil to paper to create a basic blueprint
- Gather your materials, including regular glue, wood glue, or hot glue, a ruler, and a sufficient supply of popsicle sticks
- Begin constructing the base of your bridge by laying the popsicle sticks side by side; once they’re in place, you can secure them using the adhesive of your choice
- Construct the vertical support for your bridge by using at least 4 popsicle sticks (one in each corner) to support the weight of the horizontal popsicles from Step 3
- (Optional) Add additional features, like diagonal support “beams” underneath the bridge or a roof to go overtop the structure
- Give the glue ample time to dry before testing out the durability of your bridge
Popsicle stick catapult
Now things are getting really exciting! If you like to have fun with little machines of destruction, this is the perfect crafting project for you. Check out the steps below to make sure your popsicle stick catapult is functional and ready to attack!
- Build the base of your catapult by gluing a few popsicle sticks side by side
- Stack a few popsicle sticks on top of one another and glue them near the center of the base
- Use a plastic spoon or similar tool to create the arm of your catapult
- Glue the bottom tip of the spoon to the base so that the spoon is resting diagonally across the raised sticks in the middle
- Test your catapult with a small wooden ball, a ping-pong ball, a pompom, or a similarly lightweight object
Keep in mind: your catapult arm will be doing a lot of the heavy lifting for this one. If it’s not able to bend without breaking, you may want to consider reconfiguring your catapult to utilize rubber bands!
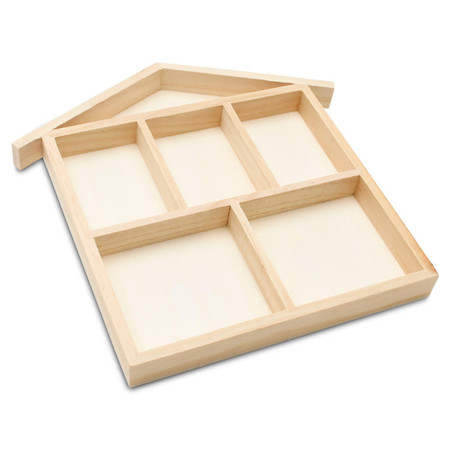
Popsicle stick house
The popsicle stick house is a classic reimagining of the old log cabin toys from years past. One of the best things about creating a popsicle stick house is that you have full creative control to make it as simple or as complex as you want. You can make a small birdhouse or a multiple-floor miniature palace — all with popsicle sticks, glue, and just a dash of imagination!
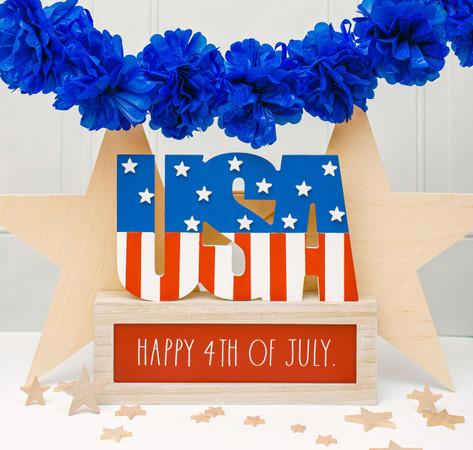
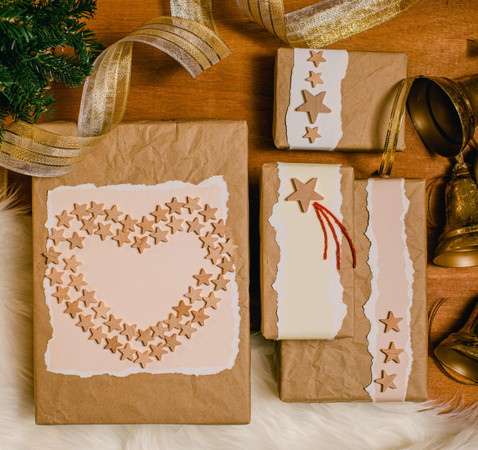
Popsicle stick ornaments
Popsicle sticks work really well for Christmas ornaments and other decorations you can use throughout the year, especially if you opt for popsicle sticks that come in unique colors right out of the box. You can use popsicle sticks to make miniature reindeer, snowmen, candy canes, and angels. Even if you don’t plan to hang your ornaments on a tree, you can still use popsicle sticks to make festive decorations. For example, if you need help with the structure of a gingerbread house, you can bring in a few popsicle sticks and some clever engineering to save the day!
How long are popsicle sticks?
The standard length of a popsicle stick is 4.5 inches, though you may find non-standard sizes that are longer. For instance, you can get jumbo popsicle sticks that are 6” long. Since popsicle sticks can be cut and adhered together, you can technically make them as long or short as you like! That said, acquiring large popsicle sticks in advance can ensure that you have the right size for your needs, particularly if you want to design larger arts and crafts creations.
How to cut popsicle sticks
There are a few different ways to cut popsicle sticks, depending on how clean you want the cut to be and what kind of cutting tools you have on hand. Generally, the three most common tools for cutting popsicle sticks are standard kitchen scissors, a crafting knife, or a miniature saw. Regardless of which tool you use, you’ll want to make sure to follow these safety precautions:
- Mark the part you want to cut with a pencil or marker
- Hold the stick firmly in one hand, ensuring that your hand is at least two inches from the area that will be cut
- Cut slowly and carefully to ensure that the cut is as clean as possible
- Always cut away from your body
How to glue popsicle sticks together
As previously mentioned, regular glue, wood glue, and hot glue are some of the best options when adhering popsicle sticks together. With any type of glue, you’ll generally need to follow the same steps to ensure that everything goes smoothly:
- Lay out a protective cloth or covering to make sure that no glue escapes your work area or causes unnecessary damage
- Make sure you’re working in a well-ventilated area, as glue can put off potentially harmful fumes
- Set the sticks out in an arrangement that makes sense for your project; they should ideally be set on a flat surface to reduce the risk of unwanted shifting
- Apply the glue along the surface or the edge of a popsicle stick, and then quickly press another popsicle stick into the glue; hold both sticks in place for at least 10 seconds
- Repeat Step 4 until you’ve glued together all of the popsicle sticks you need
- Give the glue roughly 10 to 15 minutes to dry, or consult the packaging on your glue to see what the manufacturer recommends; keep in mind that hot glue tends to dry much faster than most other adhesives
Did you enjoy our wooden popsicle sticks guide? Be sure to check out our wooden popsicle stick shop to find the perfect gift for yourself or a loved one!